Street Photography 101: Tips and Techniques for Capturing Portraits on the Go
Let's look at the main differences and characteristics of street photography versus street portraiture.
Street portraits can be confused with street photography, and in many ways they are similar. The main difference is that you can do candid street shots, or you can ask the models for permission. Street shots are more natural and not staged. Let's look at the main differences and characteristics of street photography versus street portraiture.
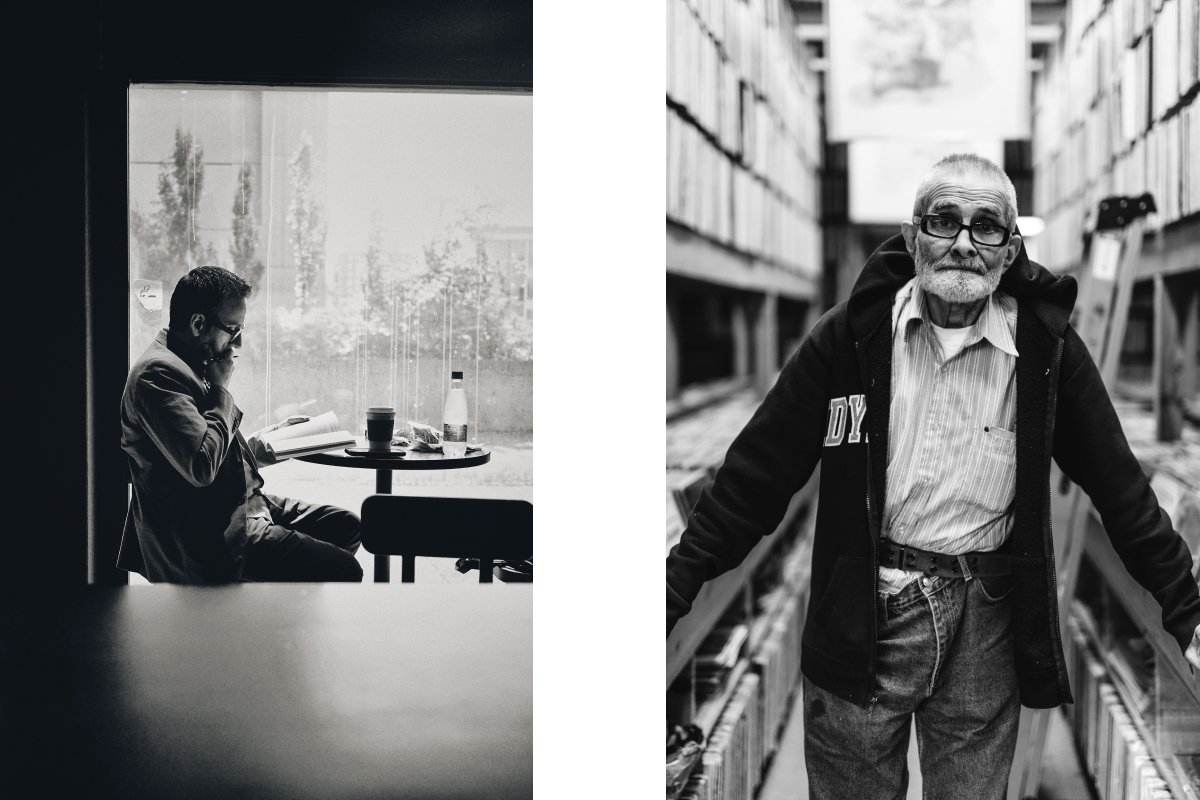
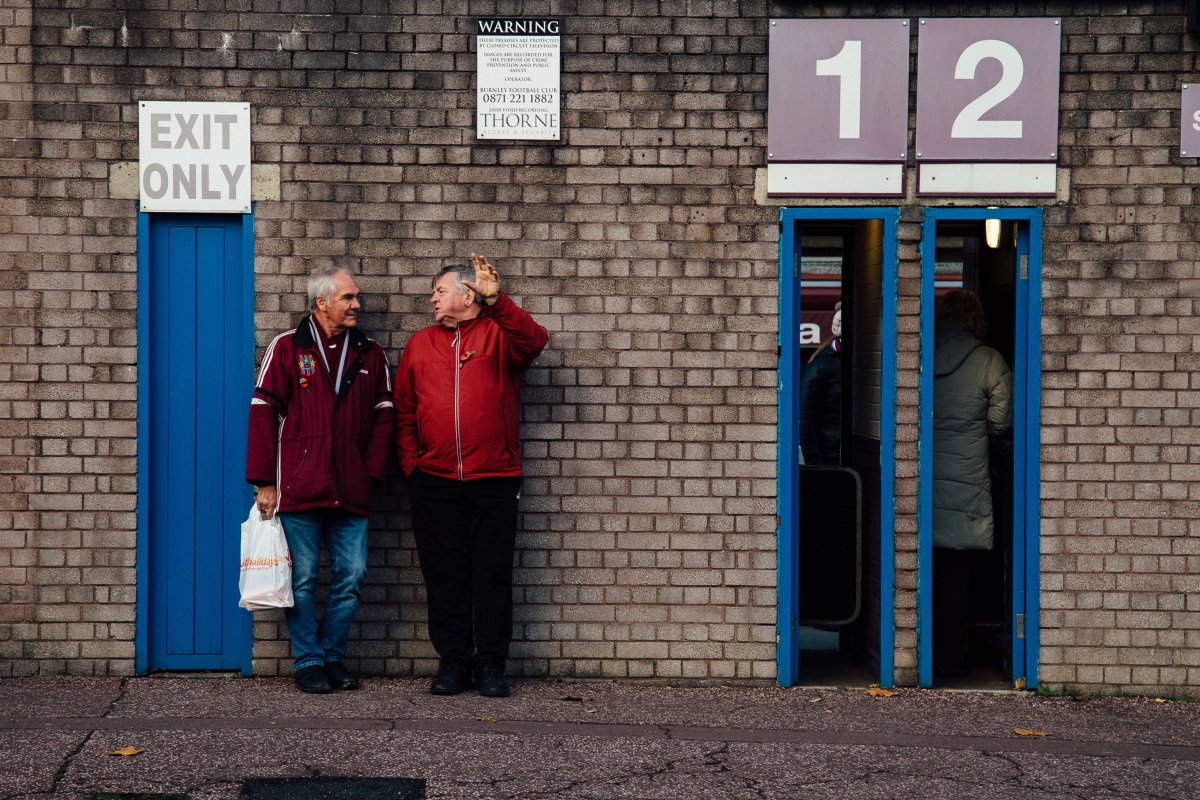
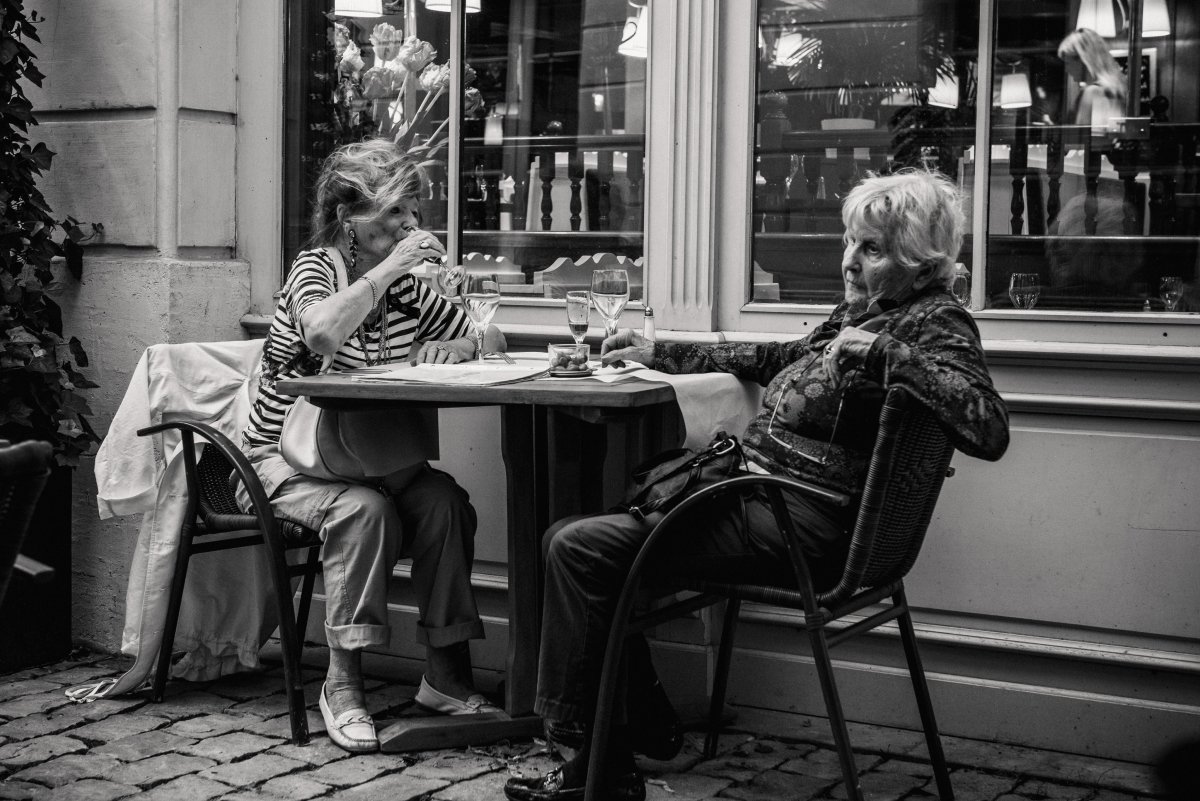
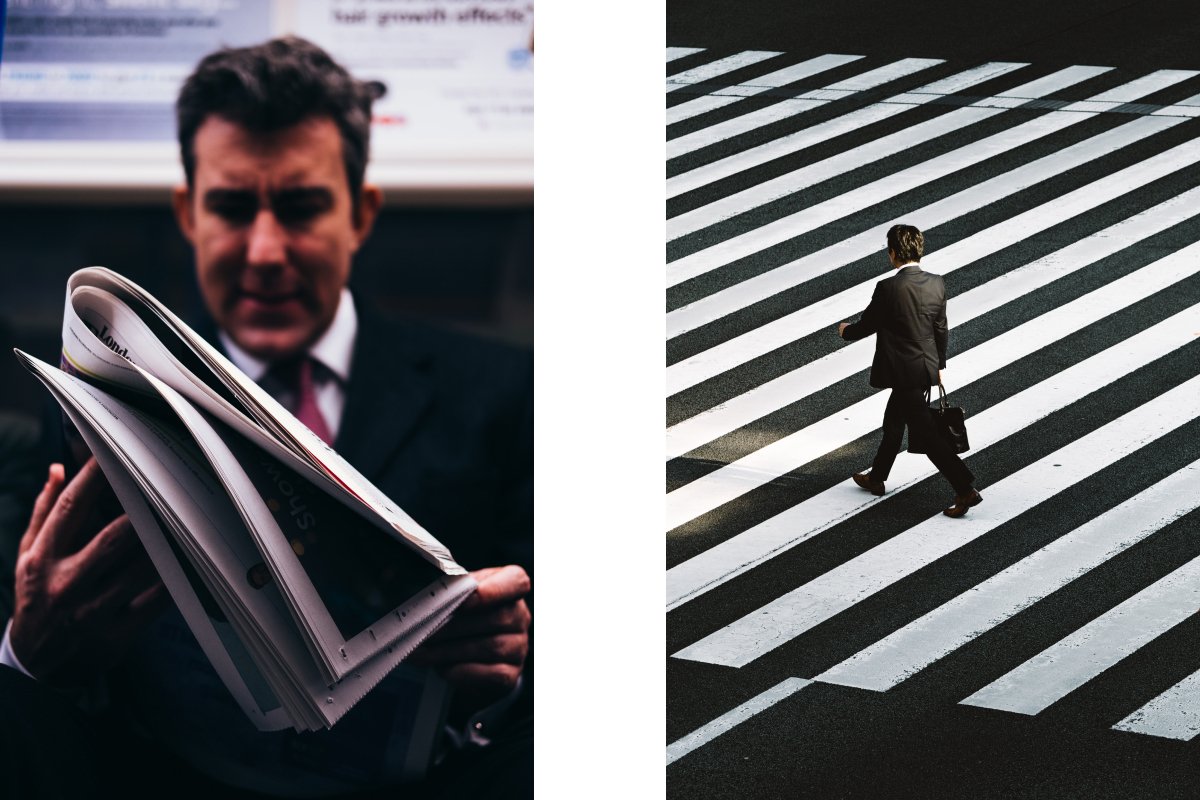
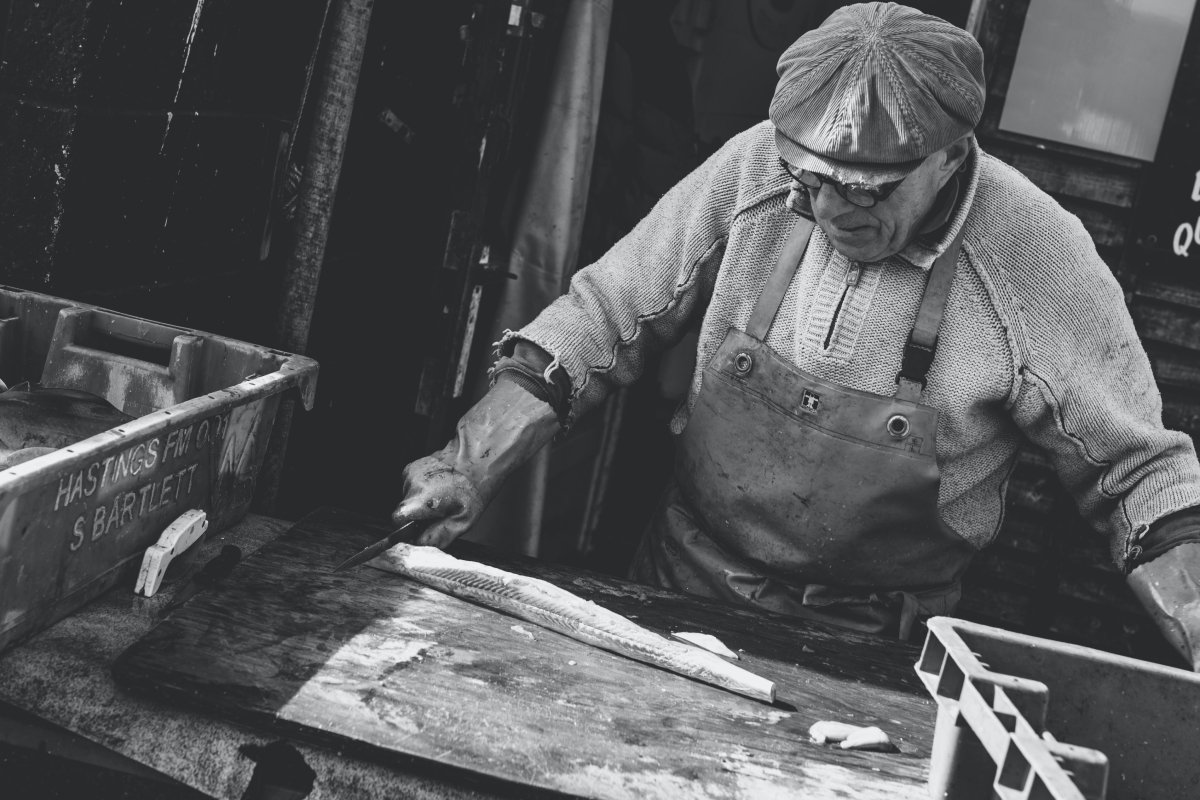
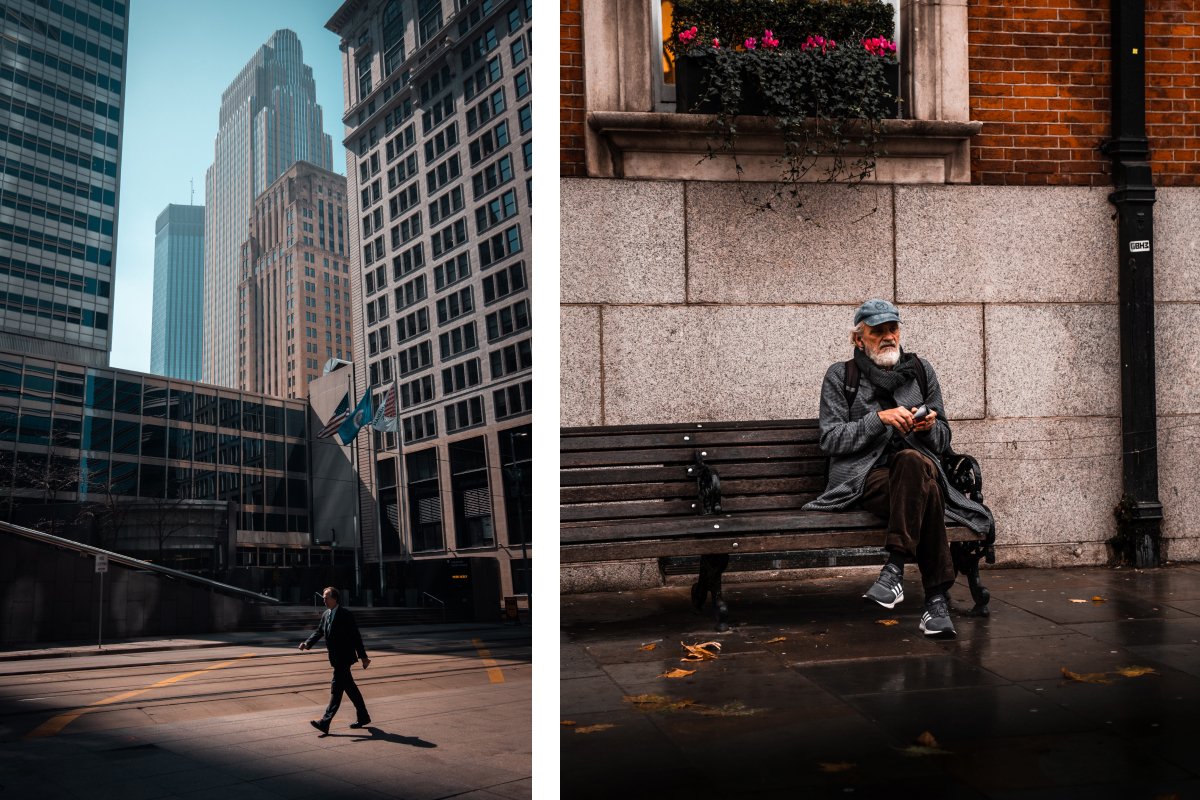
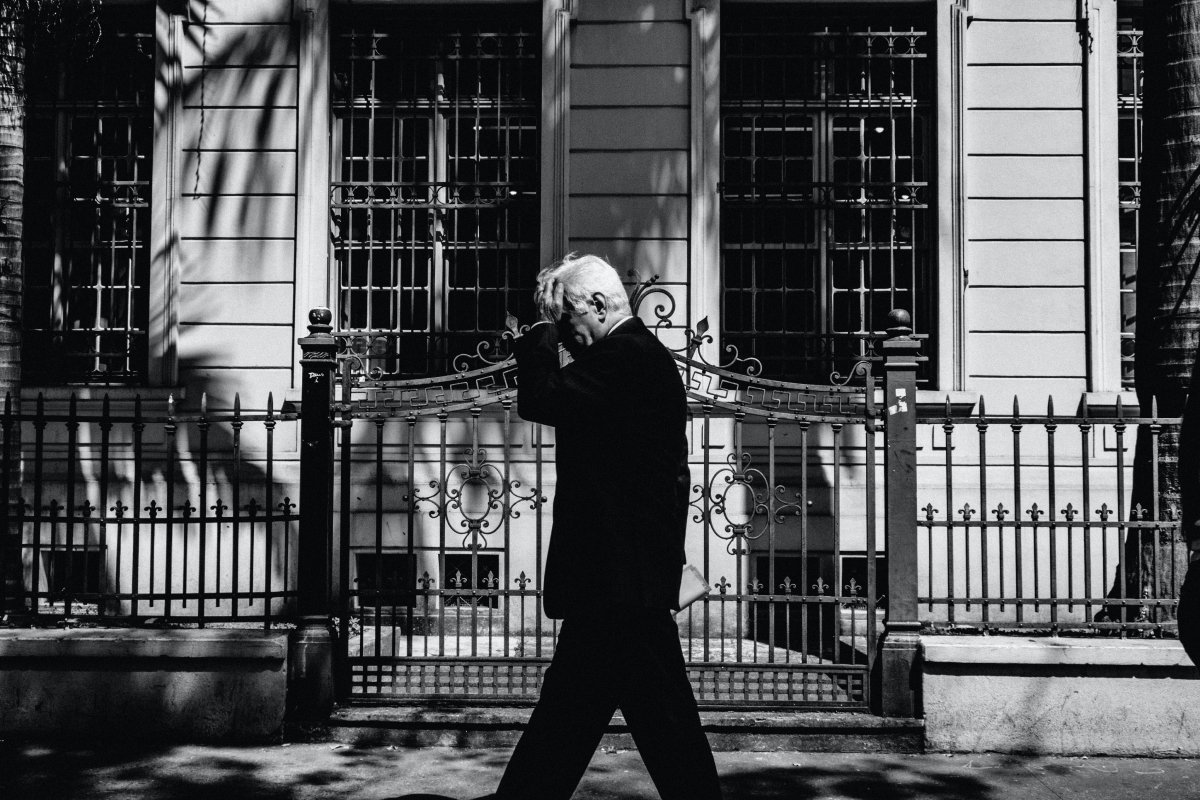
A street photo doesn't have to include a person, but it must have a narrative element. A shot of a single leg may contain a story, but for the most part, people want to see a person doing their daily activities, and that includes, among other things, their face.
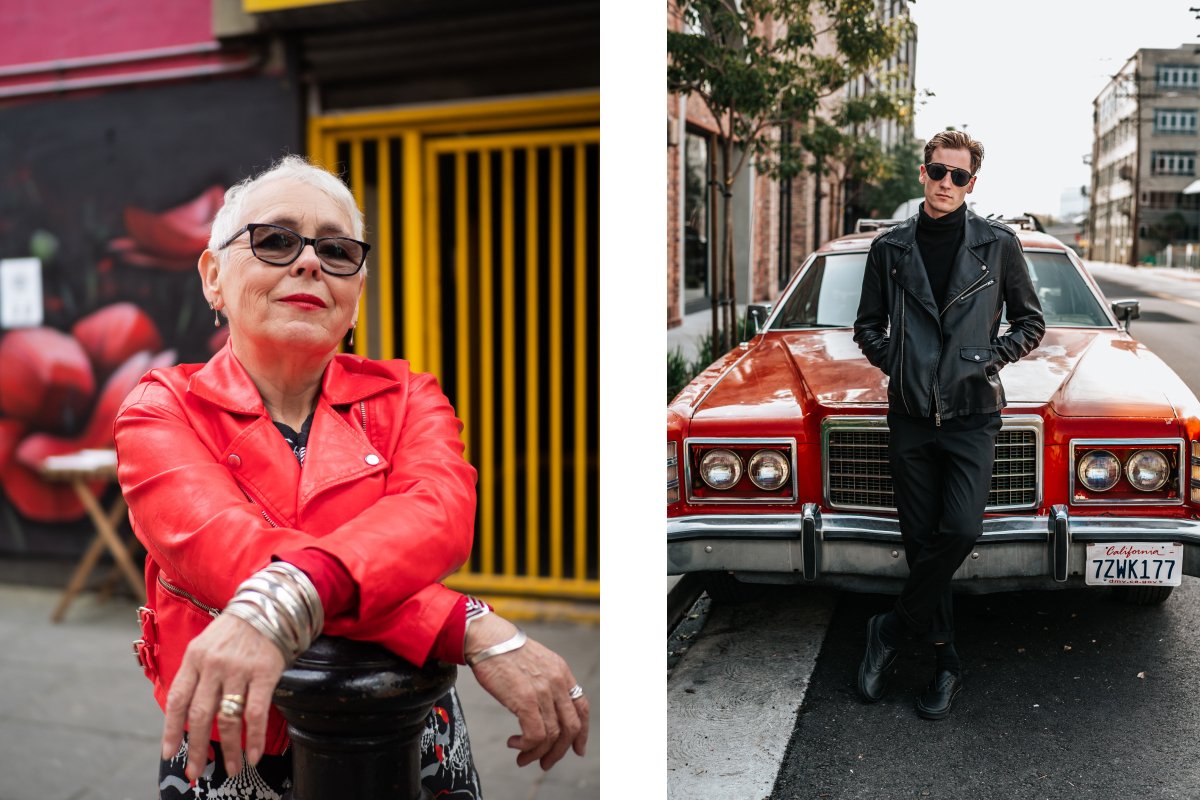
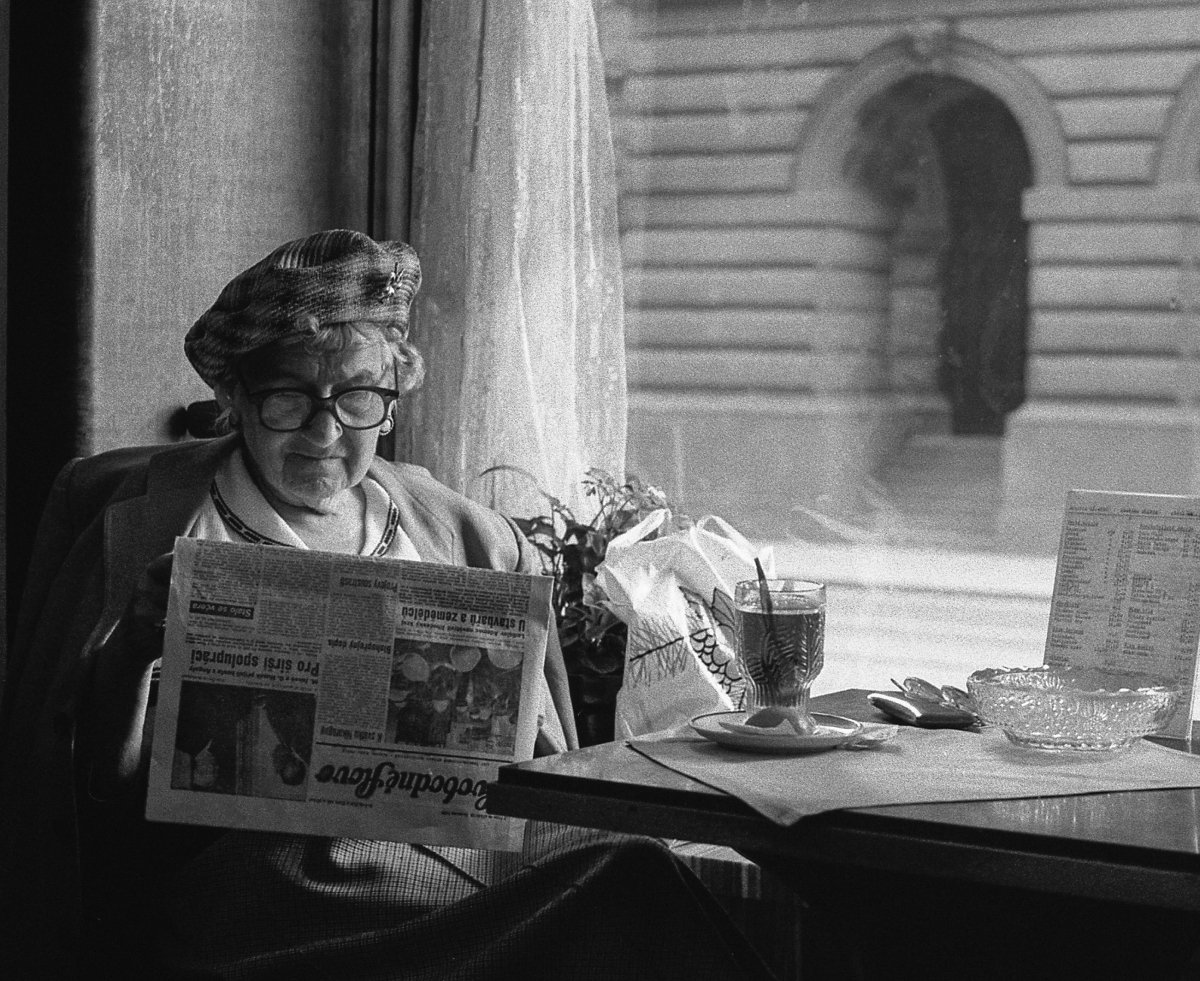
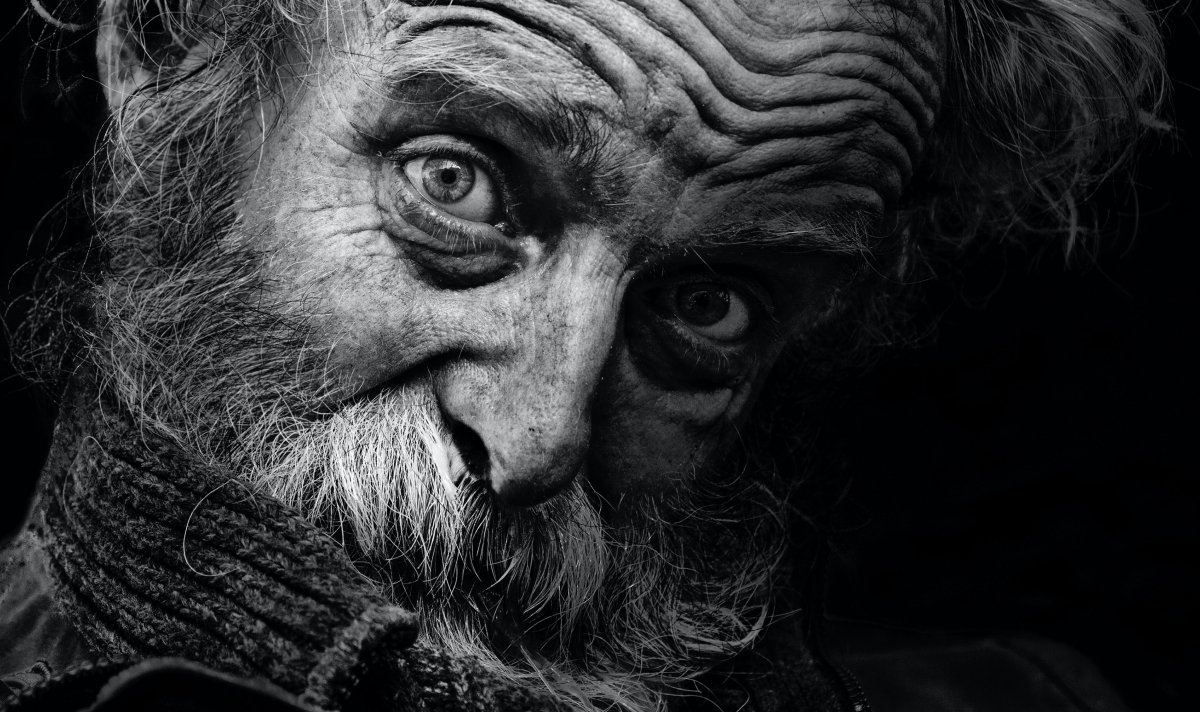
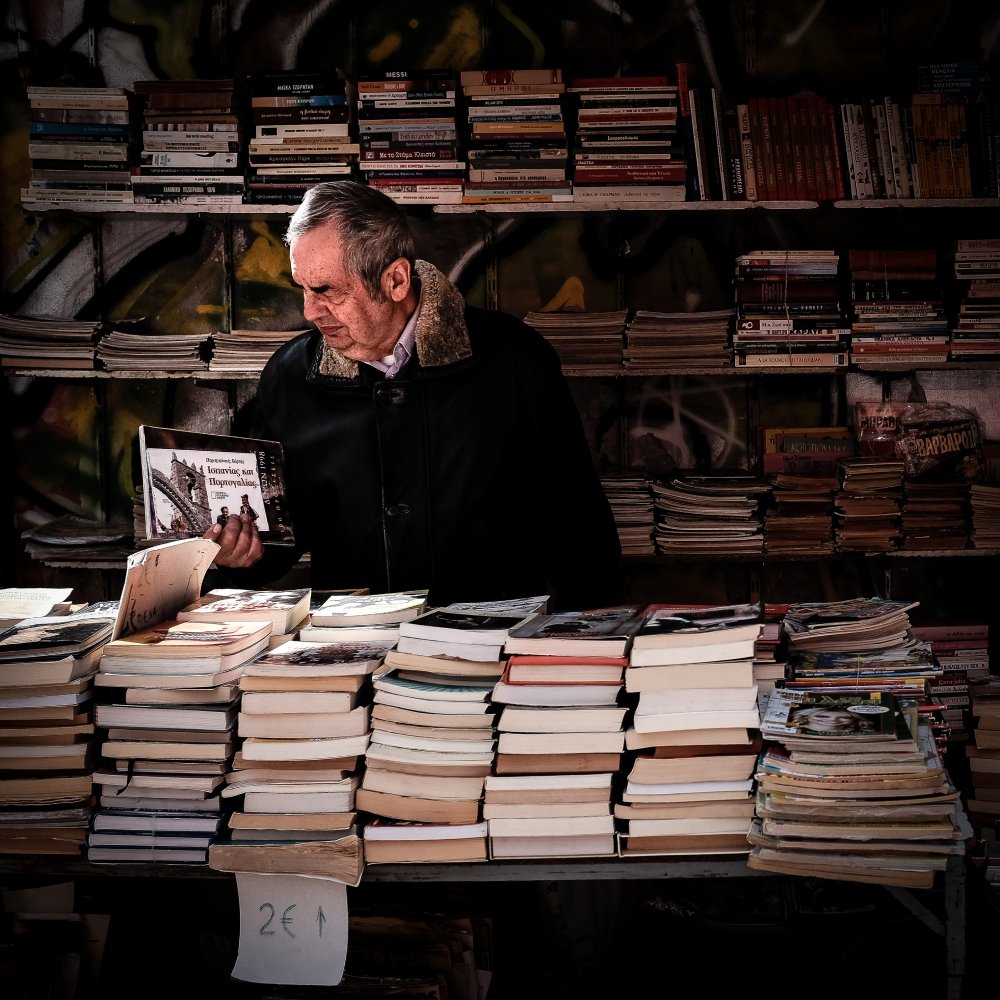
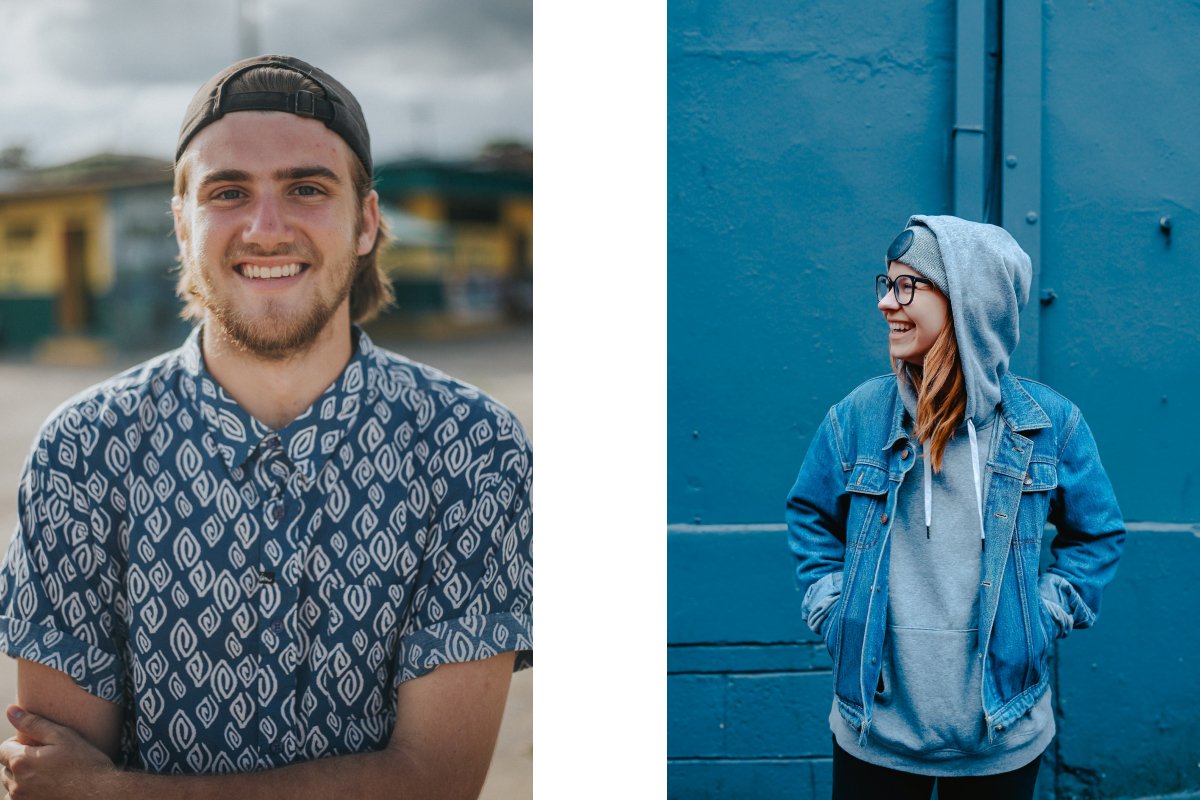
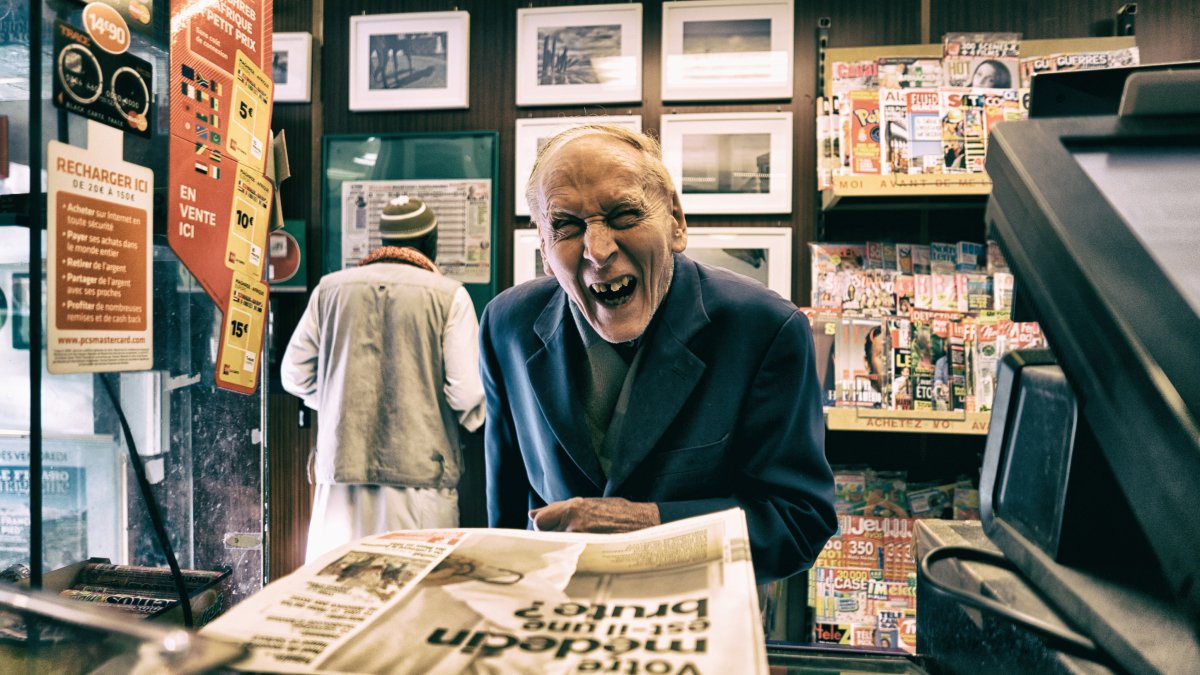
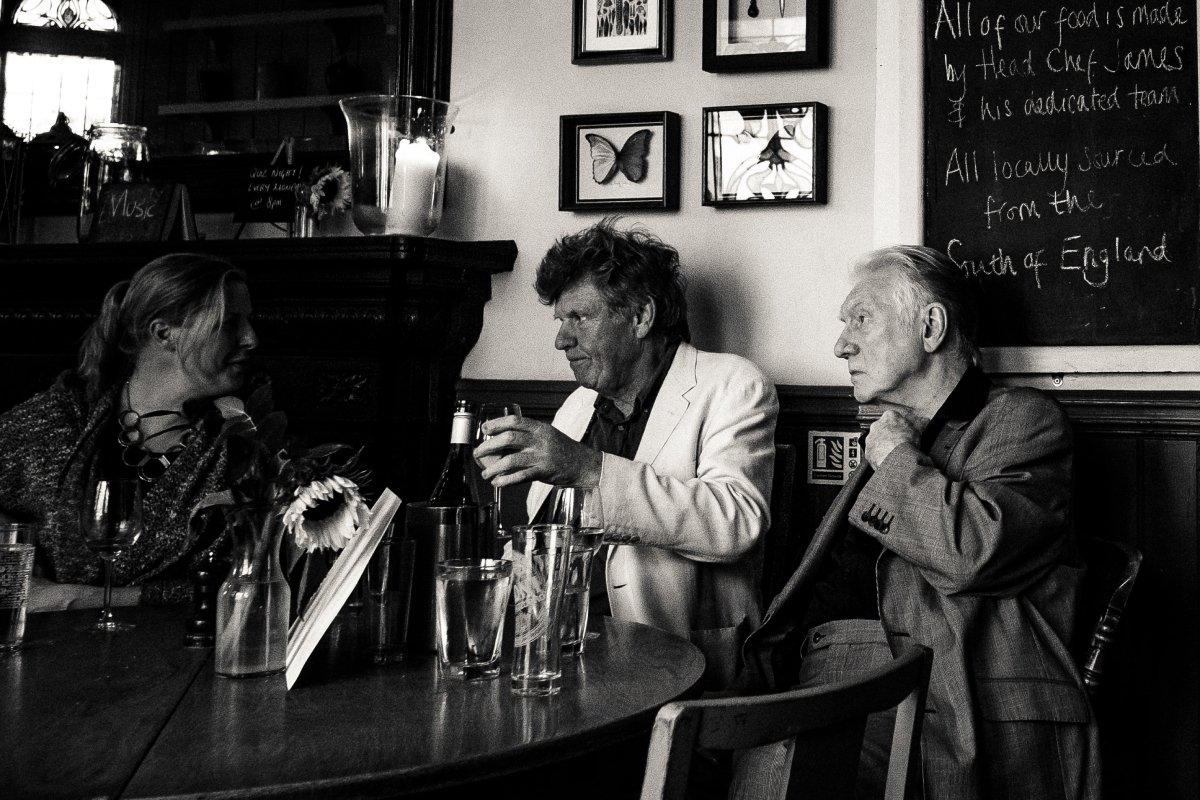
A street portrait shows the person's face. It's most often a staged shot that's taken on the street. But there's an authenticity to it. You don't invite a model, you never know for sure if a particular person will give his permission to shoot. Once you get permission, you have control over different elements of the photograph. You can always ask the subject to stand in front of an interesting background, turn his head in the right direction, or you can just control the model’s facial expressions.

Overview of street portraits
Сandid street portrait photography is by far the most challenging category of photography. Hundreds of tips from the best masters of street photography and the most powerful features of your camera will not help you in personal communication with the people you would like to shoot. You can't learn this skill without your own trial and error, but we'll try to give you a few words about the best way to approach people on the street.
Fear of embarrassment when shooting people in public places, combined with adrenaline and the desire to quickly get to the shooting can create an emotional barrier and can prevent good shots. But don't worry, one tool that will be able to help you is a long focal length lens (about 200mm). Choose an ISO setting above 200, set the overall exposure metering, switch your camera to aperture priority mode, and set your camera to continuous shooting mode.
Now your camera is ready for a quick, fuss-free style of operation. The camera is set up and now you can stop worrying about the settings and get to work thinking only about the images and the people you have to photograph.You can approach people directly and use your natural charm to ask them to take a picture or even pose. Of course, you lose the natural effect of surprise, but at least you’ll likely get a good end result.
Essential Gear for Capturing Portraits on the Go
How to choose a camera and lens for street portraits A variety of cameras can be used for portrait photography. For some photographers, high resolution is a necessary criterion for a good portrait, while others prefer "dreamy" softness. In general, experienced portrait photographers are more likely to choose full-frame DSLRs, mirrorless cameras, and medium format cameras. Even if you do not have such a camera, there’s no reason to limit yourself and not take pictures until you save up for the “right” camera. Also, the lens often will play a bigger role than the camera itself.
Which lens should you choose?
Lenses with focal lengths from 85 mm to 135 mm (full frame) are great for portraits. They have no geometric distortions in the photo. Because of that the subject looks as natural as possible. Also, a long focal length lens allows you to effectively separate the model from the background.
There are other options with their pros and cons that you can try for street photography in general:
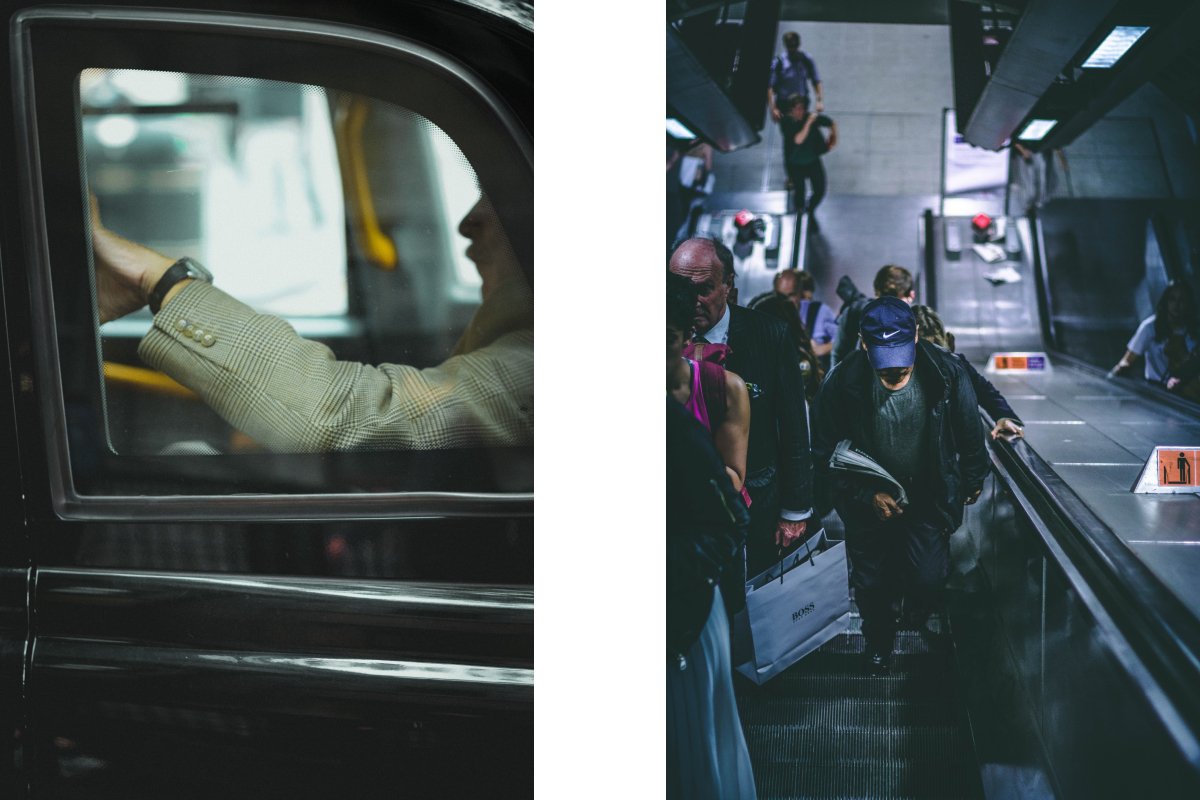
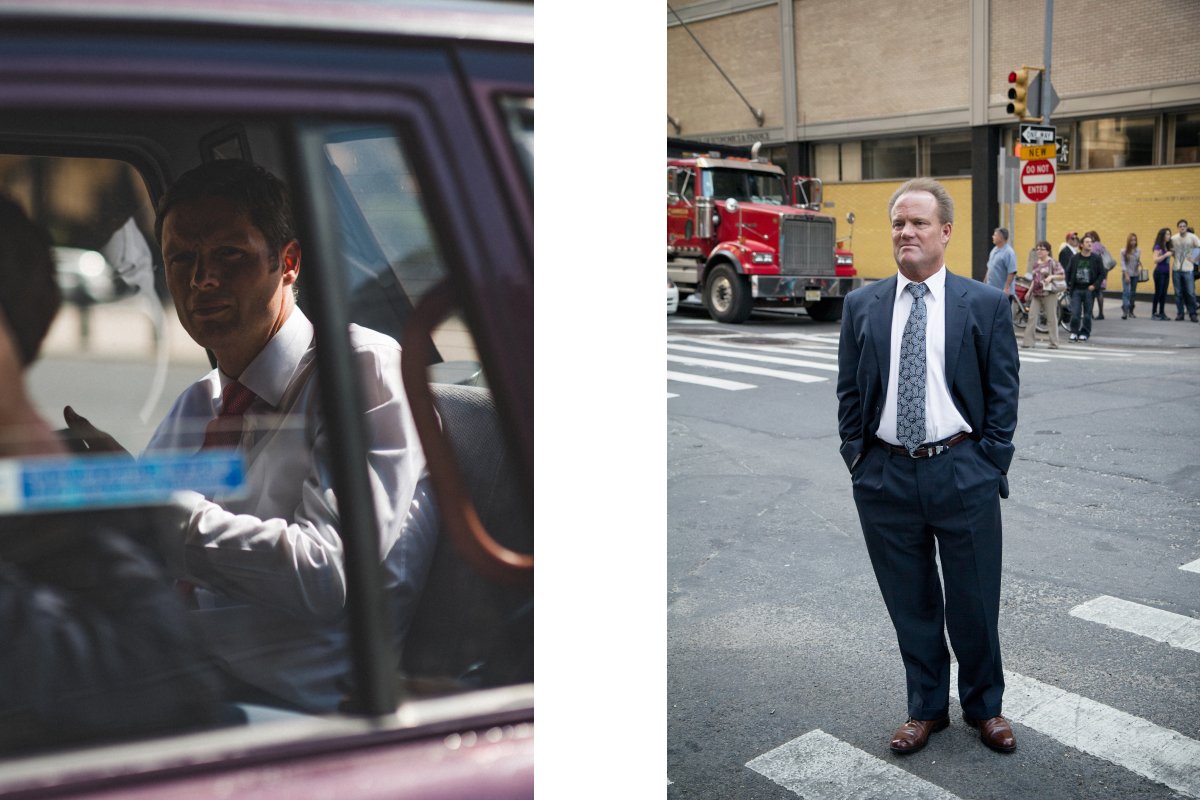
Telephoto lens–It allows you to take pictures of people without posing, as you can take photos from far enough away that there is zero chance of being seen at work. However, with this lens you compress the scene into the frame. You often can't capture more context in the picture.
50 mm lens–The most popular option for street photographers. This lens has a field of view similar to that of a human. It is wide, and you can easily capture the context of the entire scene you are shooting. Be sure to consider the cropped factor for DSLRs with a crop sensor that changes the effective focal length.

A wide-angle lens–For photographers who want more story within a single scene. It minimizes physical proximity to people. You and your subjects might not even notice it at work.
Camera settings for street portraits
You should pay special attention to the settings of your camera because the quality of your photos and the effectiveness of the shooting in general depends on it.
The fastest and easiest way to set the settings for street photography is to switch to Av mode (aperture priority) and manually select the aperture value and ISO. The camera will pick the shutter speed. On a sunny day, you can set f/16 and ISO 200 to 400. If the camera shows a shutter speed faster than 1/200 second, you can shoot. If the shutter speed is less than 1/80, there is a risk that the picture will be blurry, but it may have an interesting effect. If you don't need it, just increase the ISO or choose a larger aperture.
Also, don't forget the settings, which will help you improve the result without much effort: Exposure mode–Set the optimal exposure value for the lighting conditions Burst mode–Continuous shooting, required for clear shots in motion

If you want to use a manual mode of your camera, here is information for you.
ISO The concept of ISO has been inherited from the days of film photography, and on a digital camera it reflects the light sensitivity setting of the sensor. A high ISO setting produces brighter images in low light conditions, but a side effect is the possible appearance of noise, or grain, as it is called. These are digital artifacts that become noticeable at high ISO settings, and they do not contribute to beautiful (from a conventional point of view) portraits. The best practice is to use as low an ISO setting as the light source allows. Depending on your lighting, camera stability, and assuming your model isn't moving, try to keep the ISO below 400. For the most pleasing skin tones and overall image clarity, try ISO 100. Maintaining this level of light sensitivity will not be possible in all lighting situations, but if you are using strong constant or daylight, ISO 100 will be the best option.
Shutter Speed
Shutter speed is the amount of time a digital camera film or sensor is exposed to light. Short shutter speeds are good for stopping ("freezing") motion, while slow shutter speeds allow for more light, but can result in motion blur. Even fleeting things like a model looking away or blinking can cause blur, which in turn can ruin a portrait. The same goes for camera movement at slow shutter speeds.
As a general rule of thumb, try to use shutter speeds of no more than 1/60th of a second to avoid blur. However, shutter speed is not the deciding factor when deciding on settings because there are other camera parameters, particularly aperture, that will determine how short a shutter speed can be.Your light source, whether it's a flash or natural light, will also determine how fast the shutter speed should be. You can be flexible with this setting and change it as you shoot.
There is a simple rule of thumb that states that the longest shutter speed you can use when shooting handheld should match the focal length of the lens you are using. If you use an 85mm lens, for example, the longest shutter speed you can use to avoid blur would be about 1/85 of a second. Generally speaking, sometimes it is better to make a mistake and underexpose a photo (in this case a shorter shutter speed) than to overexpose it with a slow shutter speed and get a blurry photo.

Aperture
The aperture setting determines the size of the lens aperture through which light enters the camera. On most lenses, you can adjust the aperture–the size of the aperture is indicated by the number f (the relative aperture of the lens), or f-stops, as they are also called. The f-stops on most portrait lenses range from f/1.4 to f/22, but can be larger or smaller. The smaller the f number, the larger the open aperture, and vice versa. An aperture of f/22 is a tiny aperture that lets the least amount of light into the frame, while f/2.8 is a relatively open aperture that lets in more light. The main trick in photography is to balance ISO sensitivity, shutter speed, and the amount of light passing through the aperture so that the image is well exposed - neither too dark nor too light.
But aperture also provides another function that is especially important for portraits. The aperture size determines the depth of field (DOF), or simply depth of field, and describes how much of your image, from the background to the foreground, is in focus. An image with a large depth of field will be in focus from the foreground to the background, while an image with a shallow depth of field will only be in focus at a certain point in the frame.
Setting the aperture to get the picture you want is critical for portraits. For a portrait in an environment where the background and physical space around the person is important for understanding their character (or profession, for example), you should use an aperture setting of at least f/5.6 so that most elements of the composition are in focus. When you want your subject's eyes in focus and everything else gently blurred (for bokeh), set the aperture to f/2.8 or lower, if the lens allows you. To keep it as simple as possible, an open aperture is generally considered a setting favorable for creating beautiful portraits.
After setting the aperture, you can set the ISO and shutter speed. Most cameras have built-in exposure meters, but photographers sometimes use a manual exposure meter to better measure light and determine these settings.
Easy tips for shooting street portraits
Keep one eye open to find a good subject among passers-by Don’t hesitate to crouch a little lower to get the frame at the right level Continuous shooting will help you not to miss any important moment Don't always shoot with a long lens. Try shooting in wide angle too Stability is essential for sharp and clear images, so sometimes it's good to use shoulder or hand camera straps Focus on the eyes of your subject
Before turning to the features of framing, let's say a few words about the camera settings for shooting outdoors. Your task is to focus the camera on the face of the model. To do this, open the aperture as much as possible, and select the remaining parameters based on the lighting conditions.
If you are shooting in JPEG format, you can use auto white balance. It's best to always shoot in RAW format. In this case, select one of the built-in scenarios, such as "sunny", "cloudy", "shade" or whatever. It is better to make the ISO smaller beforehand - from 100 to 400. You can correct the shortcomings caused by errors when setting up the camera in the photo editor in the future.

It is important to remember that a portrait is about emotions and mood. Your task is to show not just a face, but a living person, to capture the facets of nature and convey the necessary energy in the picture. Try to make the person look as natural as possible in the frame, given that this is a random passerby. This is possible only on the condition that you yourself will behave at ease and be friendly. No need to be silent, or dryly command and never criticize–speak politely and do not waste too much time.
Techniques for Capturing Portraits
Lighting techniques There are several tricks for getting the right amount of light. If you plan to shoot outside, bring a reflector with you. It will help highlight key features of the model's face and create the softest light possible at the same time. When using backlighting (the sun behind the model's back) a reflector can be used to create a glowing outline around the figure of the portrayed person, at the same time preventing the face from darkening. If the light is too bright, you can photograph in darker places (under the crown of a tree or in the shade of a building). Before taking the photo, make sure that there is enough light and that the model's facial features are clearly visible.
Don't expect the natural light you use to be the same in all cases. Its brightness and color temperature will vary depending on the weather, time of day, and season outside. The light can range from a warm yellow to a cooler, bluish glow. Properly adjusting the white balance will help you adapt to such different conditions. It is better to shoot in RAW format, because it is much easier to correct lighting errors in post-processing. A great role in portrait photography is the time of day it is taken. Professionals do not advise to work in the middle of the day - direct sunlight complicates your work and results in over-exposed images (an exception may be a cloudy day, when the clouds act as a diffuser, softening the harsh sunlight). The best time to take pictures is in the morning hours (up to noon) and from five or six in the evening until the sun has hidden behind the horizon. The light will be soft, creating long shadows.
Don't forget the rules of light and shade. Hard lighting promotes harsh, dramatic shadows, soft light keeps details clear in darkened areas, but can make the subject look more "flat". If you're shooting indoors, consider which side the windows face, as the lighting should suit your work.
Use a flash. The flash is an indispensable companion for the photographer not only when shooting evening shots, but also on a bright sunny day. When you take pictures at noon, when the sun is high above the horizon, shadows will inevitably appear on the face of the model. The light from the flash will effectively fill the foreground, remove shadows from the face, and reduce the difference in light between the foreground and background.
Composition and framing
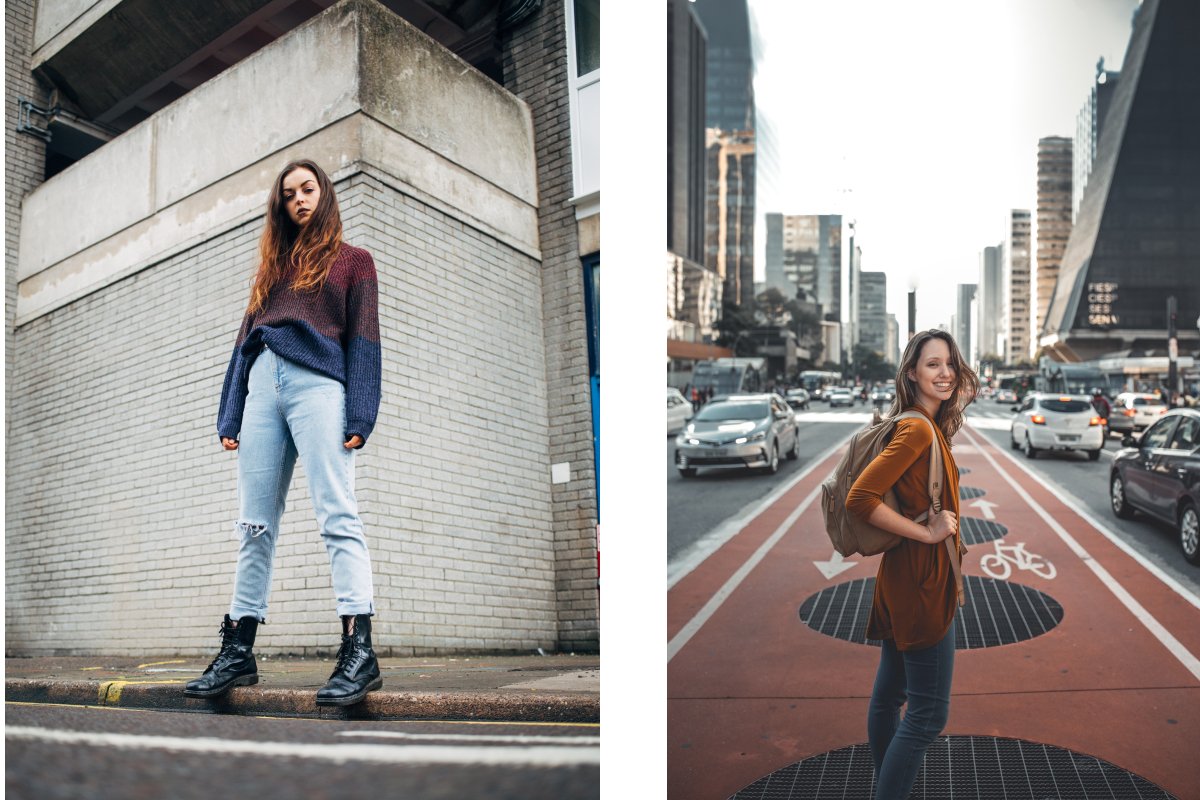
The basic rule of composition is the rule of thirds, which is that the key elements of the picture should be placed on imaginary lines that divide it into 9 equal parts. For instance, it is better to shift the human body to the right or left from the center of the picture. That way the eye will not rest on the middle at once, but circulate freely within the frame and eventually stop on the person. So, this rule not only creates a good accent, but also keeps the viewer's attention on the picture. In the vast majority of cases it is better to place the eyes above the center of the picture, but the human body can also be placed in the middle. The central layout will look more effective if the shot is based on symmetry. Symmetry could be in the positioning of objects around the person or in the background pattern. A portrait with a central composition creates a sense of statism and peace, and can emphasize the pacified mood and thoughtfulness of the portrayed person.
Our eyes are naturally drawn to framed objects, because we are used to seeing something important inside them. Frames let us know that something of significance is lurking within them. One way to improve your shot is to look for natural frames around the important subject. Frames can be anything: windowsills, trees, other plants, basically anything that helps to make your main subject stand out.Even if you're not shooting right now, try to keep an eye out for such frames. They will help you come up with new versions of scenes you've already shot. Such natural frames in an urban or natural environment are very good for portraits and street scenes.
Another way to draw the viewer's attention to a subject is to use guide lines. This can be anything: railings, rails, roads, a drawing on a wall, anything that catches the eye and leads to something in the frame, giving the viewer a sense of depth. Typically, guide lines lead the viewer from a less important part of the frame to the main subject. They are very versatile and can be found in everything: portraits, landscapes, architecture. One way to keep the guide lines in mind is to consider not just the object, but to understand where it is, where it is coming from, and where it is going. You can tell a completely different story and create a more impressive photograph if you show not just the object, but give the context in which it is located.
Shifting the horizon in a portrait will help add more mood to the story: if the subject is more in the light free space, for example, it will improve the mood of the photo, placing the horizon line higher, on the contrary, will add melancholy. Take advantage of the space and the horizon to tell a completely different story.
Sometimes you need to break the rules to let your creative vision shine. Nothing will beat a great story on a photo even if it doesn't follow all the instructions. Try exploring different approaches without overthinking. If you see an interesting shot, take a picture in automatic mode, so you do not miss the moment.
Using a wide-angle lens allows you to get closer to the people you are shooting. A wide angle gives the viewer the feeling that he himself is present in the moment captured in the photograph. In addition, such a lens will allow you to blend in with the crowd, become part of the world around you, and not stand aside with long optics.
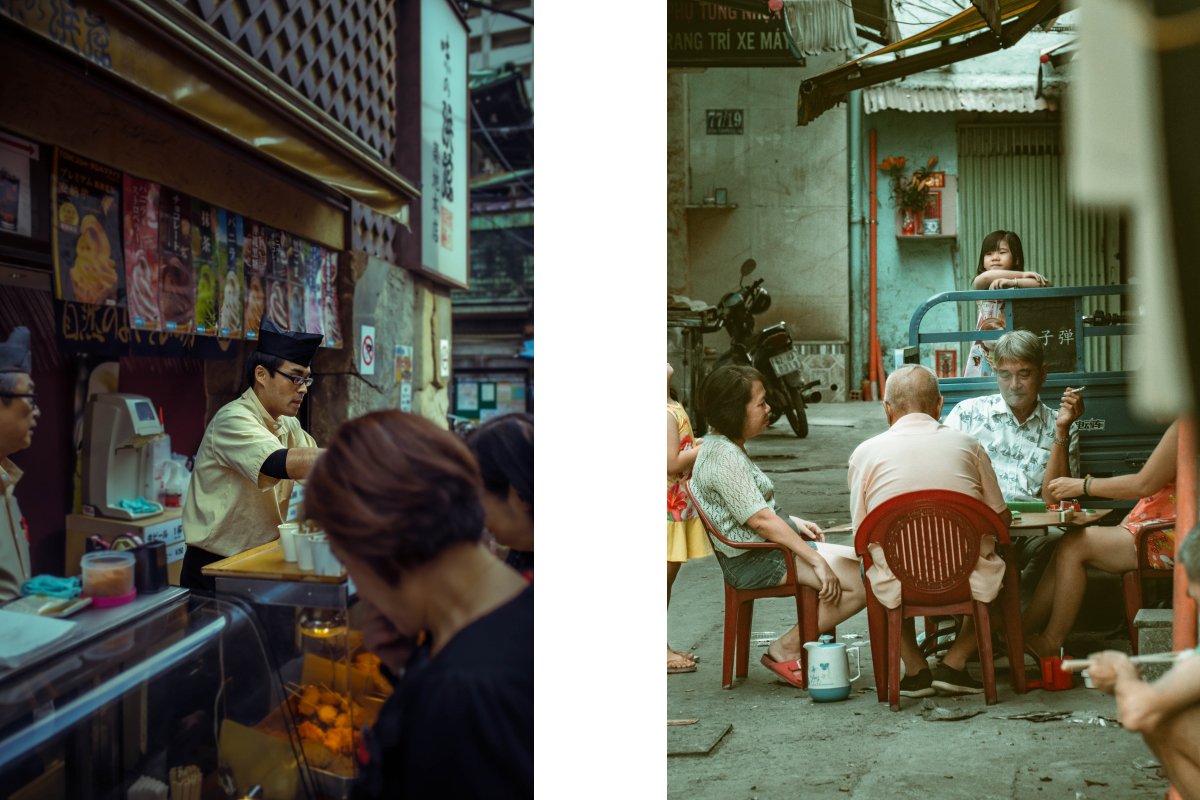
Many successful street photographs were taken just a few meters from the scene, sometimes a few centimeters. Walking down a crowded street, market, or park can get you some great shots if you're observant enough and looking for interesting characters. And if the pictures taken don't look the way you visualized them for yourself, it might be worth getting closer. Let your feet be your zoom and guide you to the right place at the right time.
Street photography is spontaneous, it won't wait. You must memorize this. The camera is an extension of yourself, a tool with which you show the world your vision; and you don't want to miss a great shot just because you didn't have a camera handy. If you are serious about street photography, you should always have your camera with you. This is called the "decisive moment"–when you have only a fraction of a second to photograph something that in the next moment will be gone forever. There may not be a second chance, so be prepared.
How do you get close to your subject?
The best portraits, including street portraits, are made with very close contact with the subject, just a few meters away from the person. Start shooting from a distance, gradually and slowly getting closer and closer to the subject, and of course keep an eye on the composition of the shot. You may be able to get close enough to the person to get your best shot. If the person sees you and knows that you are photographing them, they will be embarrassed and become very tense. And at that point you have to decide if you should continue taking the picture. If you decide to continue taking pictures, put the camera down and smile. Remember that a smile works wonders. Get the person's attention, maybe even talk, and you're likely to get lucky, people love a lively conversation and attention to themselves.
Best places for taking street portraits
Before you go out in search of good shots, keep the battery in mind–the camera needs to be fully charged so that you can keep the camera on for a long period of time. It's also a good idea to have an extra fully charged battery.
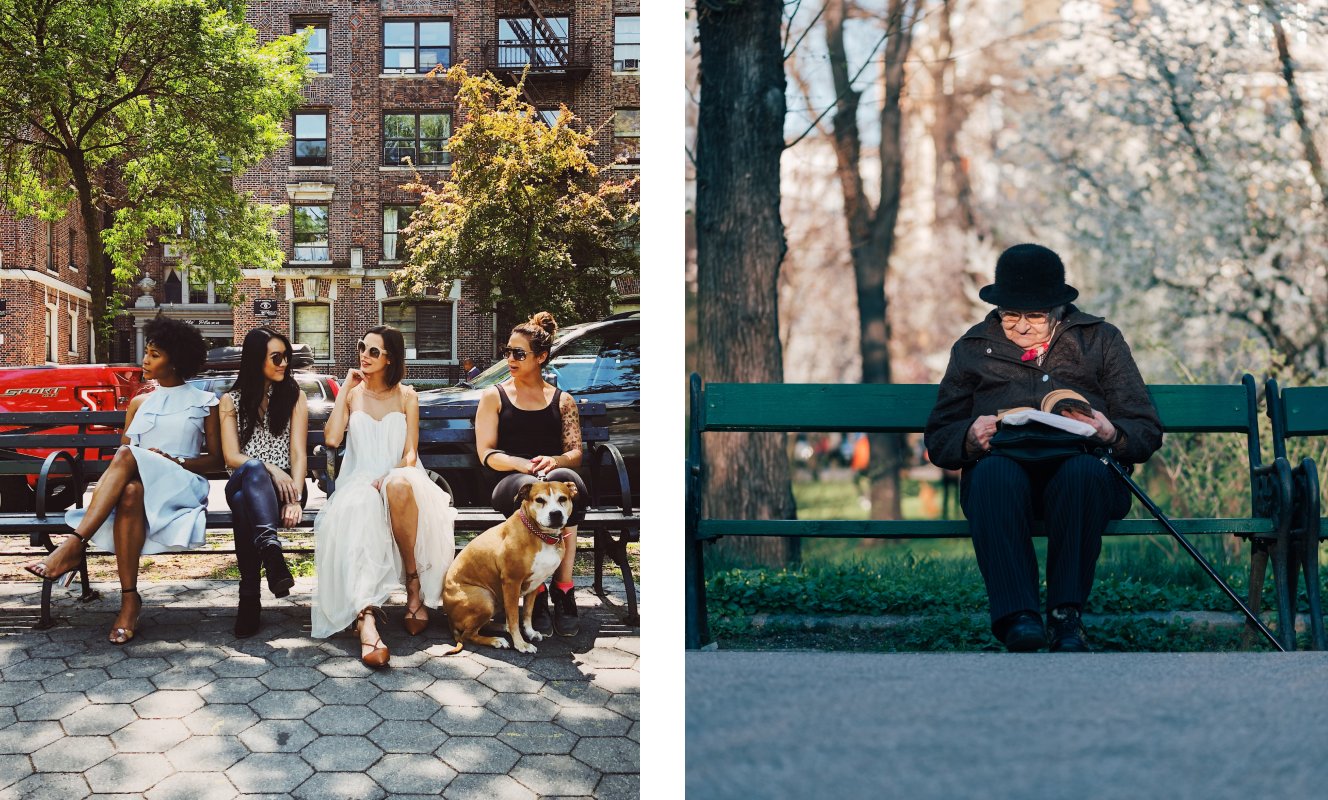
You don't always have to sit in one location for hours waiting for your model. Instead just walk around in a crowded place where people interact with the environment and each other. Maybe there's a favorite bench in your town where elderly people, colorful young people, or moms with children often like to relax. Find your place where you could come several times and try to take an interesting picture. Of course, you should also keep an eye on the location; the place for the photo should be in a cozy, pleasant place, with a nice background, etc.
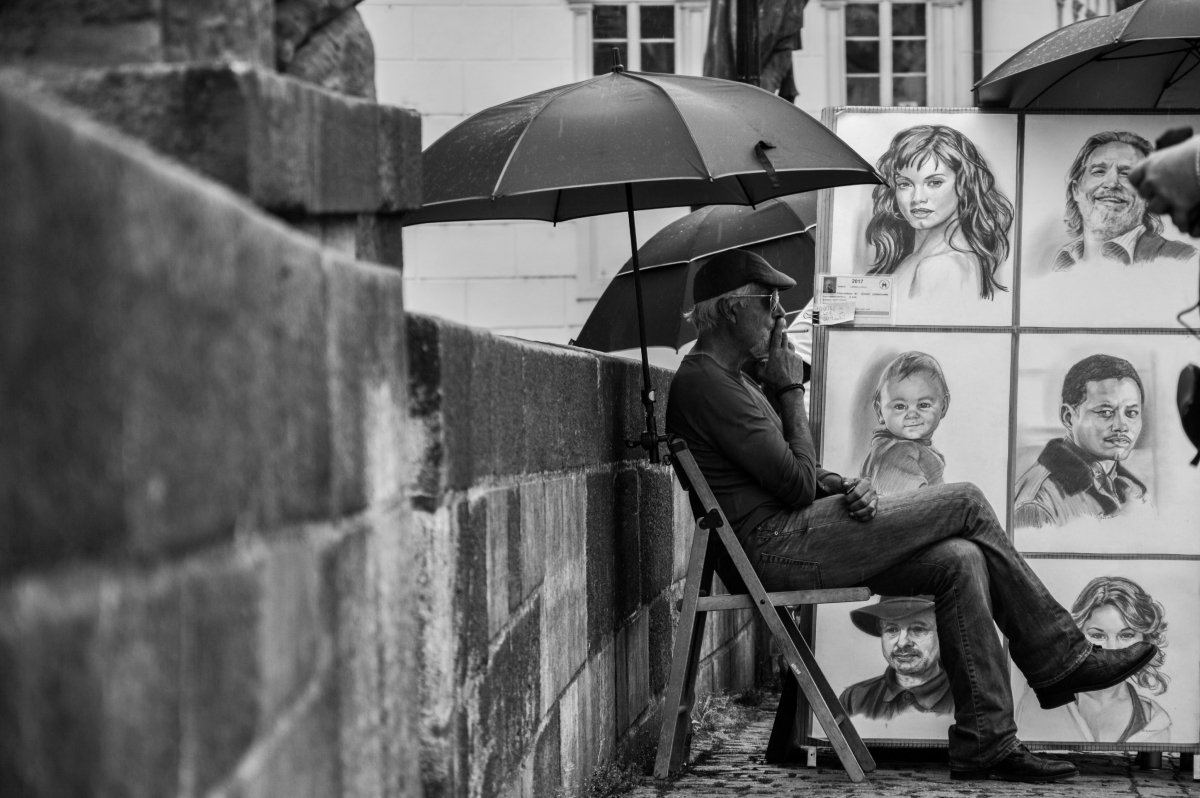
Taking pictures of street artists and musicians is very interesting, especially when visiting other countries or cities. Photographing them can make great street portraits. And best of all, these people are very sociable and fun, they're used to everyone trying to take their picture and treat it not just positively, but with interest. Set your camera to the optimal settings so you don't have to reconfigure it every time, and take your photos at your pleasure. Do not hesitate to squat down to take a picture at a level where the person looks closer and more natural, it is not worth taking a picture at eye level in most cases. Squat, kneel, lean back a little, do not be afraid to get dirty, and of course do not wear the most elegant clothes for outdoor photography. There is always a chance to get a beautiful picture. Just be patient, prepare all the equipment and go ahead. Be kind, friendly and a little persistent and you are sure to succeed!
Enhancing Portraits in Post-Production Almost no professional photographer can do without using a photo editor. With a couple of simple manipulations, the picture already looks better and more interesting. You can use Photoshop or Lightroom to correct the exposure, level out the color balance, remove defects and add accents. The software has professional functionality and is incredibly easy to work with. You will be able to transform both RAW and JPEG-images. To learn how to use these programs without frustration, we advise you to attend one of these courses, and even after one lesson significantly improve your processing skills: link to photoshop course link to Lightroom course
Practice and Experimentation
Portrait photography on the street, unlike the same studio, is complicated by the lack of complete control. You have to take into account the vagaries of the weather, adapt to them and, if possible, use them to your advantage. Sunlight is your main tool in a street photo shoot. It can turn a frame into a real treasure or completely ruin it. The best time to shoot depends on the time of year. In summer, it is better to start work at dawn and in the first 2-3 hours after the sun rises. At this time, the rays fall at an angle, so you get a soft, even light, as close as possible to the studio. At the same time, the lighting temperature changes rapidly - in the early morning the light is bluish and cold, and at 6-7 in the morning it is warm and golden. Use this feature to get even more atmospheric shots.
Do not shoot at noon when the sun is at its zenith. At this time, it creates too obvious shadows, and bright rays can cause discomfort for the model. If the shooting time is not up to you, and you need to decide how to photograph a portrait outdoors in sunny weather, a reflector will come to the rescue. Position the device in the direction of the sun's rays so that the rays do not fall directly on the face of the hero of the picture. If there are no reflectors, try to "hide" the model in the shadow of a building or tree.
Tips for overcoming being shy
Some people get very upset about street photography–they worry that people will get angry because they are being photographed; worried that they might use force or call the police. These are common fears that are overcome with practice and more practice. Here are some tips on how to deal with anxiety.
Find an interesting place and set yourself up there with your camera. You can sit in a street cafe with your camera ready. Viewing your surroundings in a comfortable environment so you can relax and wait for the frame to find you. People will pay far less attention to you if you sit at a table with a camera than if you stand with a camera in the middle of the street. Turn on a music player and go for a walk. Music helps to distract, relax, and at the same time stimulates creativity. It may sound counterintuitive, but it works, so if you're sure the places you'll be walking around are safe, put on your headphones and take out your camera.
Conclusion
So, a street portrait is a partially staged shot taken on the street. The photographer can only control some of the elements in the frame, which makes this style unique and requires a creative approach.
Creating interesting and creative portraits is more than just making the right camera settings. The placement and control of lighting, the use of shadows and contrast, location, and model handling are important, which we'll discuss in our other materials.
However, if you shoot with a full frame camera in natural light, you can rely on the following basic settings: 85mm focal length, f/2 aperture, ISO 100 and an appropriate shutter speed which maintains the overall exposure of the image so the picture won't be too dark or too light.
In many countries it is allowed to take pictures of people in public places, but you can only use such pictures for editorial purposes. Time will pass, and you'll want to use this footage for commercial purposes. For that, you need to think about putting together a model release.