How to Learn Portrait Photography
What is Portrait Photography?
Portraiture is the most popular genre of photography, but also the most complex. Portrait photography is not simply a matter of posing and pressing the shutter button. It instead requires a significant approach, preparation, and diligence. Only then will the images be the type that viewers will appreciate.
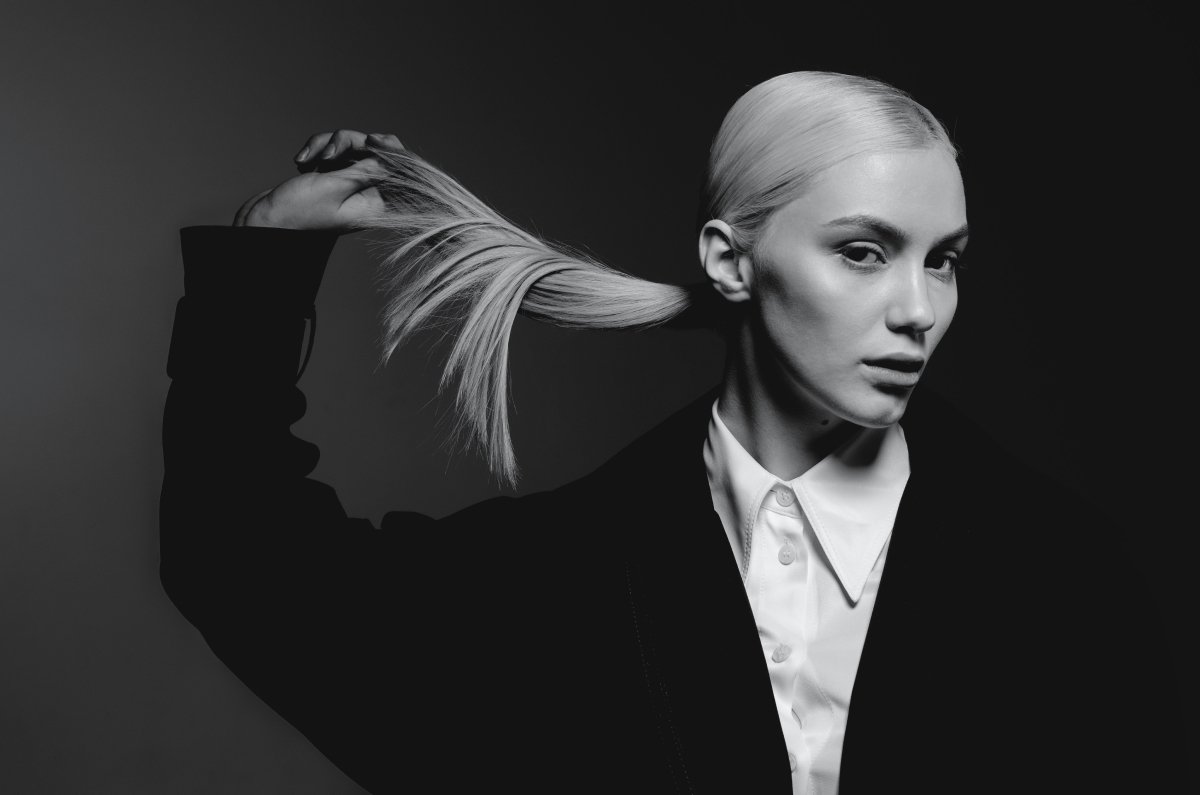
Portrait photography is multifaceted. A portrait can be either a close-up, or a photo in which a person is depicted very small against a large background. It is very important not only to convey the emotions, the character, and the appearance of the model, but also to express the subject; that is to say, what the artist wanted to convey with the photo. The photo should look natural–you have to work with the person you are photographing to make them feel relaxed and free. Otherwise, the portrait will be boring, and unnatural emotions will look fake.
How to Learn Portrait Photography for Beginners
Learning portrait photography is extremely interesting and involves improving skills in many areas, from choosing equipment to communicating with a model. However, it isn’t necessary to tick all boxes in a list of lenses, external flashlights, reflectors, etc. You can start with any camera you have and natural lighting only. The most tricky part is getting someone to pose while you’re training and can’t provide great results after every photoshoot like a professional photographer, though it is possible to ask a friend or someone from your family to help and spend some time together in the meantime. There are a lot of books about portrait photography and many videos about its aspects. Spending enough time educating yourself about this genre is worth the results you will get later. This article provides a basic and full overview of the equipment for portrait photography, lighting for portrait photography, the composition of portraits, the steps of creating a perfect portrait photo, working with a model (not necessarily professional), common mistakes, and ways to practice portrait photography. You might want to join a photography course to learn how to shoot portraits from a professional. A teacher will ensure you have all the knowledge you need to use the settings of your camera and guide you with advice while practicing together:
Gear and Equipment for Portrait Photography
Essential Camera and Lens Choices The choice of lens for portrait photography is very important. The lens must be chosen carefully, as it affects the quality of the photos, their expressiveness, and their artistic appeal. Portrait photography uses three types of lenses: wide-angle, standard, and telephoto lens. Wide-angle lenses are mainly used to express the expanse of space around the model. These are suitable if the purpose of the photo is to capture the model in the background of a large area of nature or buildings, or when you want to distort the perspective when taking fun photos of children or family. A standard lens will get the right perspective in the photo. A 50mm fixed lens is often used as the standard lens. Long focal-length lenses are used for close-up portraits. The focal length of these lenses usually ranges from 70mm to 135mm, but photographers sometimes use longer focal lengths, such as 200mm. But because long focal length lenses distort (shrink) perspective, they must be used with caution, or you can get a portrait with a distorted face, which would be very unattractive.
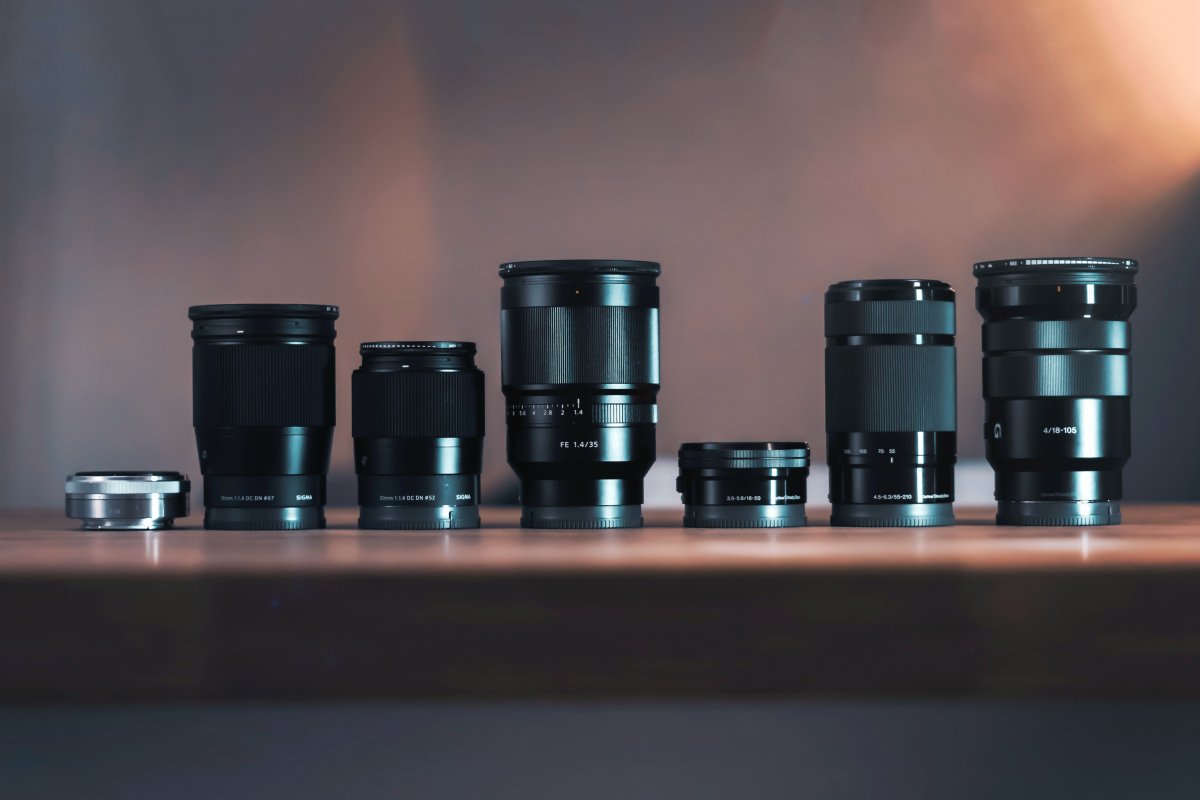
For owners of SLR cameras, the problem of choosing a lens is much more difficult than for owners of compact cameras, because on these cameras it is impossible to change the lens. There is a huge range of lenses on the market: fixed or zoom lenses, different apertures, with or without image stabilizers. Wouldn't it be better to buy a single lens with a wide focal length range that would cover several lenses in terms of focal lengths, which would allow you to shoot both close-up and wide-angle? Not always! The advantage of fixed focal length lenses is superior sharpness and high aperture. For portraits, the standard 50mm focal length lens as well as the long focal lengths of 85mm and 135mm are ideal. A 24mm lens can be used as a wide-angle lens. Some photographers also use ultra-wide angle lenses, called "fisheye". This technique is particularly common for photographing weddings (although wedding photography can be considered a separate genre of photography). This lens distorts the perspective, curves the horizon, and adds a romantic charm to your photos.It should be noted that the disadvantages of prime lenses are always present, one of which is their price. Not everyone can afford to buy a set of lenses, and one lens is not enough. Zoom lenses are more flexible and often span the focal lengths of several lenses at once. A photographer also doesn't need to constantly change lenses while shooting, which wastes time. In addition, these lenses are less expensive than a set of fixed lenses. Of course, zoom lenses have their drawbacks. They tend to have a lower aperture ratio and are inferior to fixed lenses in terms of sharpness. Zoom lenses also have more optical distortion. If you can't afford to buy a set of fixed lenses, you can mix and match optics, i.e. buy a zoom lens, which will be convenient in terms of focal lengths, and preferably buy a 50mm fixed lens, which is not that expensive. Such a set will give you the opportunity to start your creative journey as a portrait photographer with a pretty good set of optics. It is also worth noting that the more focal lengths a zoom lens covers, the worse the image quality and the higher the level of optical distortion.
Lighting Techniques for Portraits
How to Choose the Perfect Light for a Portrait The success of a portrait depends on the light. Light is the most important part of a portrait. What kind of light should you shoot in? The best light is definitely daylight, so you can set the sensitivity of your camera to the lowest level. Lower sensitivity gives better image quality and detail, better tonal transitions, and sharper and juicier colors. The higher the ISO, the rougher and grainier the image, which loses approximation of the original. So set your camera to the maximum sensitivity allowed where the skin doesn't look like gray sandpaper.
Sometimes the sensitivity is deliberately inflated to create an artificially grainy film effect for black and white photography. But this is the exception rather than the rule. Even if you have enough light to shoot handheld, it's best to mount the camera on a tripod and ask the model not to move, as the sharpness and clarity of the photo will be better. But, everything must remain within reasonable limits. Even if the camera is on a tripod, a very slow shutter speed will not help, because the model is a human being and makes few movements anyway.
When is the best time to shoot during the day? The worst time is the middle of the day, in the afternoon. The sun is high, the light is blinding, and the shadows are sharp and deep. When you shoot in the shadows, faces appear almost black. In this case, you should use a flash or reflector. It will soften the shadows considerably and ensure that the face is evenly lit. If possible, take pictures in the morning or towards evening, when the sunlight is soft, which is very good from a photographic point of view. This is the best time. There are very good conditions for photography on a cloudy day. Uniform, soft lighting is conducive to well-processed soft portraits. But even then, it's often advisable to use a flash, especially if it's a bit dark outside.
If you're photographing a portrait indoors, try to use the light coming out of the window during the day. Open the curtains and stand with your back to the window so that the light comes in through the window and hits the model. A built-in flash is not a good solution for indoor portraits. Remember that at less than one meter, the built-in flash turns the face into a white pancake. And beyond three or six meters, depending on the camera model, the built-in flash is almost useless. That's why when in restaurants, banquet halls, and party houses, don't take portraits with built-in flash at long distances, especially with zoom. You will get much better results if you shoot with an extra external flash, pointing it at the ceiling, or using a special softbox for the built-in flash. For indoor portraits, this is the best solution. Of course, the best results are obtained with professional lighting. But it is expensive and not always practical. An external flash is a relatively cheap, light, and compact solution to the problem of light. The pictures will be much better than with the built-in flash.
Simple Rules for Choosing Lighting for a Portrait
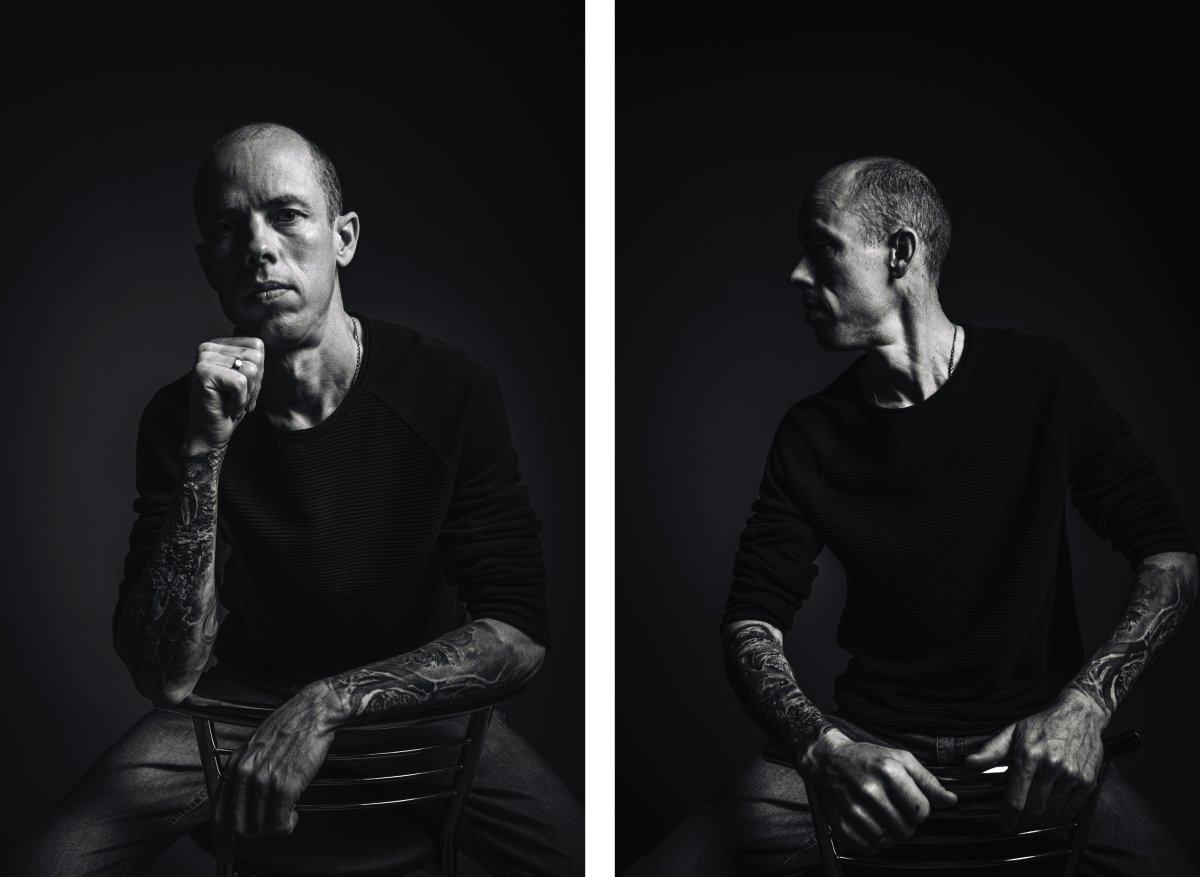
If you are working indoors in a studio, keep an eye on the lighting so that it is not difficult to determine the exposure. A single flash with a softbox is ideal for portraits of men. If you position it at 45-90 degrees to the model, it will help you create lighting that can accentuate sculpted facial features and skin texture. If you are photographing a woman or girl, use soft light, rather than a backlight without harsh shadows. Two flashes and two softboxes placed on either side of the camera will create the ideal conditions. You can also set the model near a window and use the light that enters the room. When working outdoors, the soft light of a clear, slightly cloudy day is ideal for portraits, as contrast is low and shadows and glare is not a problem. If you must work in direct sunlight, place your model in the shade where the lighting is soft and shadow-free, or make sure the sun is behind the person and use a reflector to light the face.
Lighting for Portraits Explained
Depending on the light pattern, the lighting used during the shooting is divided into two types: light and shadow lighting and light and tone lighting. Figuratively speaking, light and shadow lighting is sunlight (the pattern is hard, and shadows are thick), and light and shade lighting is diffused light, similar to what happens on a cloudy day (shadows are soft or nonexistent). Each type of lighting has its own application and offers certain benefits. Light and shadow lighting, achieved with metalized reflectors (often small), emphasizes volume and texture, but at the same time exaggerates skin flaws or gaps in the model's costume. Tone-on-tone lighting is achieved by using large frosted reflectors with additional diffusion accessories (umbrellas, softboxes, strips). This type of light appears to fill in the surface relief, hiding flaws and greatly reducing the amount of retouching required in post-production.
As mentioned earlier, studio lighting is usually compared to a type of natural light. This can be sunlight (directional or diffused) or artificial, conventional indoor lighting. It is important to understand that under normal conditions, there is only one light source (the sun, a lamp on the ceiling), and the others (reflections from surrounding objects on the street or additional lamps in the room), if present, have less power than the main one. The main light source that defines the lighting pattern is called the drawing lamp.
The setting of the drawing lamp and the choice of its type (shadow or chiaroscuro) are made taking into account the general task of the shot and the peculiarities of the structure of the model's face. Since the viewer is accustomed to the upper position of the lamp, the camera can be set just above the head of the portrait, and later refined, so that the shadow of the nose is minimal and, if possible, scattered, and the eyes have no shadow (if the eyes of the model are fixed deeply).
In the horizontal plane, the positions of a light source are frontal, front diagonal, lateral, back diagonal, and back. The choice of the angle of incidence of the light in the horizontal plane should also be guided by the characteristics of the model's face and the existing light. The most common light positions are front and side. However, in some cases, when it is necessary to highlight shapes and volumes, back diagonal or backlight positions can be used.
However, if you limit yourself to the main light source, the result will probably not be perfect. The contrast of the image will be excessive, deep shadows will appear on the unlit side, and in the case of the light and shadow type, skin defects will be clearly visible. To compensate for these deficiencies, a second light must be connected, which must necessarily give a soft diffused light, have a large diffusion surface and be less powerful.
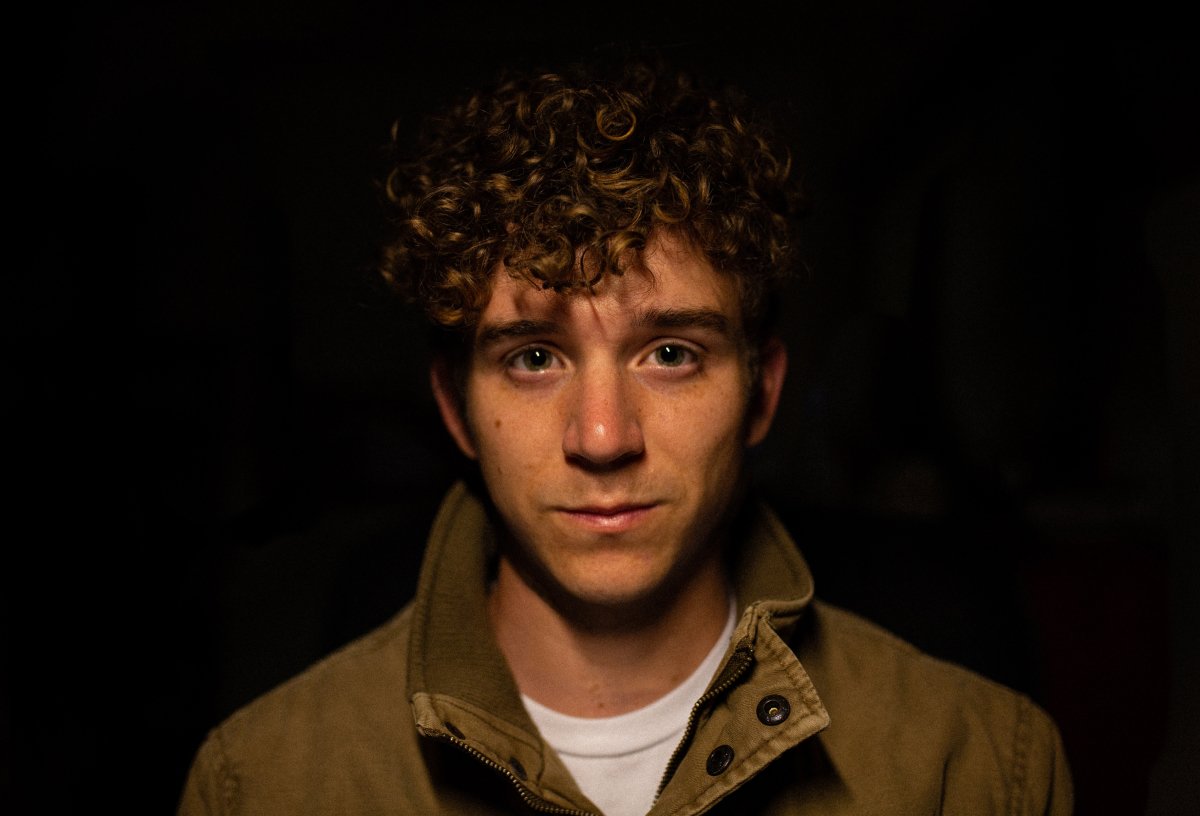
The second light is installed, usually in a frontal position. Its light gently fills in the dense shadows of the main illuminator, but does not create a second shadow and does not disturb the previously established pattern. It is called fill light because of the effect it has on the image. It reduces the contrast of the image, hides many of the small shadows formed by irregularities in the skin, partially "whitens" the large shadows, and provides a smooth transition from lighter to darker, thus showing volume with maximum verisimilitude. This source is sometimes convenient to use as a painting source, as a strong, well-dispersed light stream provides quality lighting without shadows. Sometimes two such sources are placed head-on or slightly tilted to each other. This is quite convenient for taking group photos, but it creates a risk of distorting the facial features of a "single" model.
In addition, it is worth mentioning the use of a reflective screen as a source of fill light. The undeniable advantages of this device include its low cost (compared to the lighting fixture), its compactness when folded, its versatility, and the presence of at least two (or even five) different reflective surfaces. In addition, with a reflective screen, it is impossible to obtain a secondary shadow of the nose, the appearance of which may very well be the result of poor handling of the auxiliary light source.
Next comes the light background, which gives the image the necessary depth, broadens the perspective, and illuminates the interior objects. Most often, the background light source gives a fairly strong directional light (especially for a non-detached background). To form different light points, patterns, or imitation of light from a window or a source located in the frame, different nozzles, tubes, lenses, curtains, and many other things are used. To evenly illuminate unfocused backgrounds, two devices are used, installed on either side at an angle of 45º.
After creating the basic lighting scheme, softening the shadows, and lighting the background, the job of setting up the lighting can usually be considered complete. However, some types of photography require the use of backlighting and modeling lights. The backlight source is placed behind the model and, being invisible, illuminates the outline. The backlight effect looks great on bouffant hairstyles, and it can sometimes be used to simulate sunlight. The modeling light is also used to highlight hairstyles, make-up elements, or accessories; it is a narrow beam of light that can be adjusted by means of shutters, tubes, and collecting lenses, and is directed to the area that needs accentuation.
It remains to be remembered that the power of the luminaires is always consistent with the draft light and, in a conventional lighting scheme, it cannot dominate it. In such a scheme, the tip of the nose, the forehead, and the cheekbone on the side where the spotlight is placed will be the brightest (glare is possible during the shooting).
Shooting and Editing Portraits
Composition in Portrait Photography The same principles of composition apply to a portrait as to a still life or a landscape. They are based on reliable and proven pictorial formulas that have been developed and perfected over the centuries. It is not easy to know what good composition is, but there are basic principles that determine how an image should be composed to be attractive and balanced. For example, if you divide a shot into three equal parts vertically and horizontally, you form lines known as the "rule of thirds." The composition is said to be more dynamic and balanced when the subject is positioned at the intersection of two of these lines. The most common arrangement of a portrait is based on a triangle. This is easily seen in individual portraits, where the person's head serves as the apex of the triangle and the broad shoulders as the base. The triangular composition is also ideal for group portraits: the tallest person is in the center and the height of the other people gradually decreases toward the edges of the frame. A pectoral portrait can be framed just above chest level and fill the frame harmoniously, leaving a clear space above the person as well as to the right or left of them. A three-quarter portrait can be framed at hip level, again leaving more space above and to the side of the subject. A full-length portrait should have more background on one side than the other, and more space above the figure than below. The composition of the portrait will be improved if the head is slightly tilted, as the eyes are not placed on the same horizontally. When photographing a group, avoid arranging them so that the eyes of the people are at the same height and tilted at the same angle.
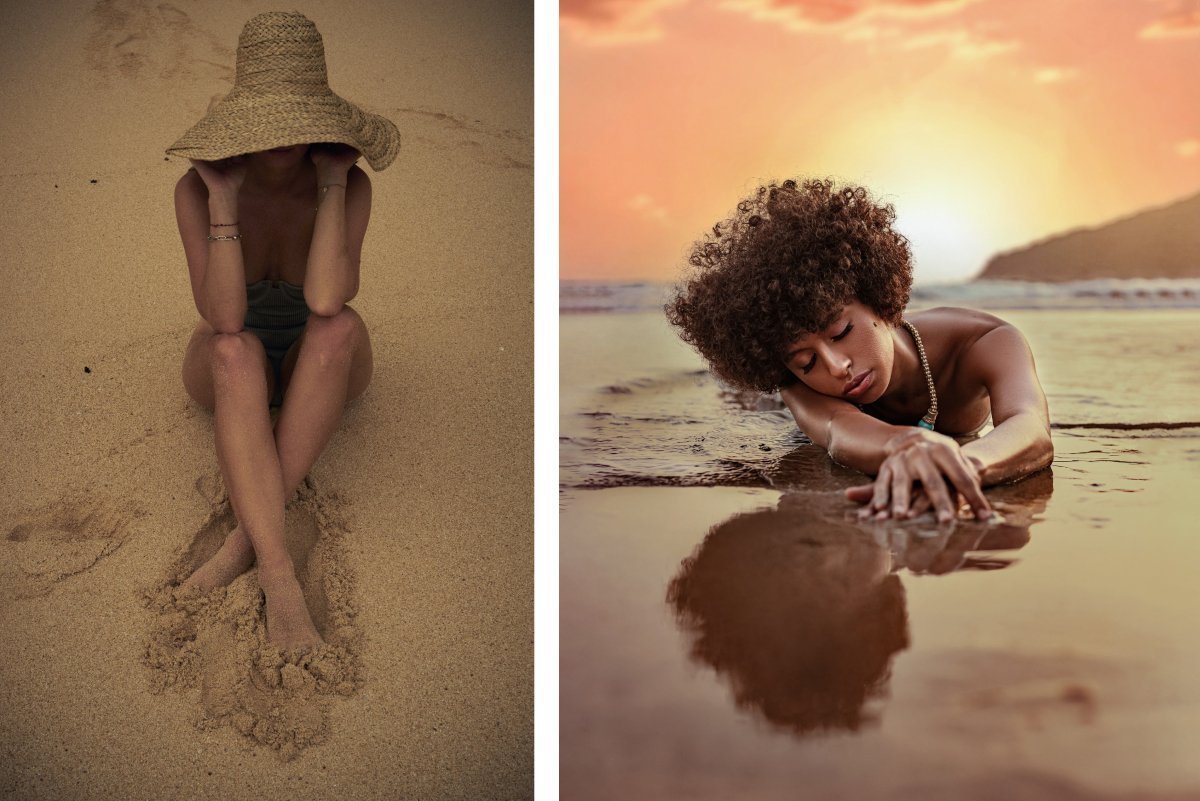
Capturing the Perfect Portrait Shot
For portraits, depth of field is very important, even essential. Only a full-length portrait should be perfectly sharp, and not always. For this purpose, the aperture can be set to f5.6-f11 or even higher, if the camera allows it. Blurred portraits are very advantageous when the person portrayed is far from the background. This is at the large aperture f2-f4, in which case the depth of field decreases considerably. Everything after and in front of the object in focus is "out of focus". In this case, there should be no extraneous objects in front of the person. The background behind the subject should be as monochromatic as possible, without distracting details. This is good when this role is played by the foliage of trees, the blue of the sea, the mist of the mountains, or the sky. It is worse when it is high-rise buildings, hard branches of bare trees, factory chimneys, etc. When focusing, make sure your subject’s eyes are in focus. The image will look blurry if the eyes are not in focus, even if the mouth and nose are super sharp. The eyes should always be sharp, clear, and open - they are the mirror of the soul. A portrait will be good even if only one eye is in focus. If you can't get both eyes in focus, focus on the one closest to the viewer.
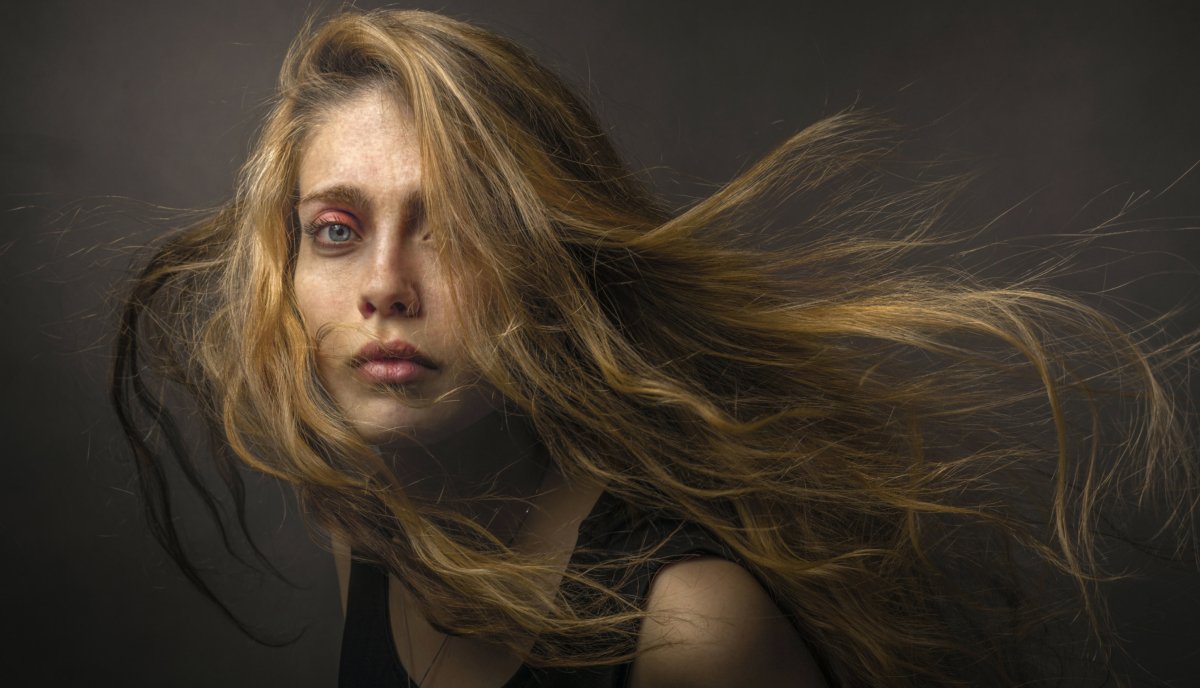
Telephoto lenses are good for portraits. You need a telephoto lens to separate the person from the background and blur the background. Portrait lenses with a focal length of 50 mm (standard) and a longer 35 mm equivalent are good for taking portraits. You should not take pictures of people with a wide-angle lens except in specific circumstances, as you will get distorted facial proportions. For group portraits, of course, you need a wide-angle lens, otherwise, you will have to move away, which is simply unacceptable in most situations.
How to Position a Person in a Portrait Photo
The way a person stands or sits in front of the camera is very important in a portrait. The body has its own language; the pose itself, the lines of the body, and the position of the arms and legs express the mood and character of the person. The shape and position of the body also contribute to the composition, bringing dynamic shapes and lines into the frame. The placement of the feet provides stability, the position of the hands and palms adds liveliness, and the head and face add expression. Any pose, whether it is a full-length photo or a bust portrait, begins with the position of the feet, as it determines the overall position of the person and their comfort or discomfort. In general, the far foot is at a 90° angle to the camera and the front foot is looking directly at the camera, with the body naturally turning at a slight angle. If both feet are facing the camera, the person looks more aggressive and defiant. When we stand, our knees are straight, which gives more stability to the pose. If one leg is relaxed, the knee and ankle bend, and the pose becomes looser. When body weight is transferred to one leg, the thigh is moved forward. Therefore, it is best to transfer the body weight to the leg farthest from the camera so that the thigh does not appear too dominant. However, the thigh forward can be used to give the pose an offensive look, a technique often used in modern portrait photography. If the body is turned at a slight angle to the camera, the apparent distance between the shoulders is reduced and the figure appears thinner. When the weight of the body is shifted to the back leg, the back shoulder naturally drops, which again makes the person look more natural and makes the slouching posture invisible. When the shoulders are turned directly toward the camera, the pose looks heavier and more difficult, as the body looks wider. The natural position of a relaxed head is a slight tilt to the side, and this body language can be used in a portrait. By tilting the head toward the raised front shoulder, the face appears narrower, and because the chin is lowered, the eyes are more expressive, giving the pose freedom and femininity. However, if the head is tilted too far forward, the naturalness of the pose is lost and it becomes too submissive.
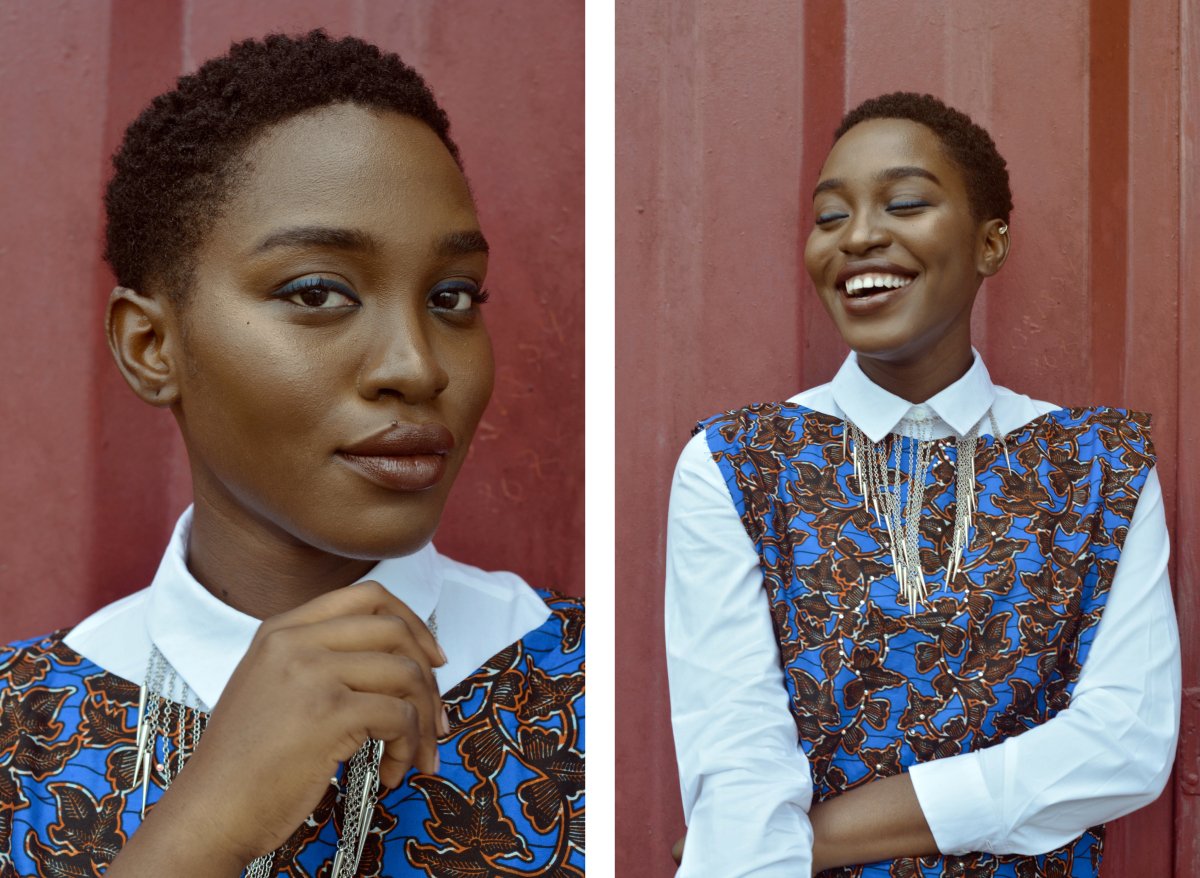
The eyes are the most important part of any portrait. Be sure to control the direction of the gaze, whether it is directly into the lens or to the side. When a person looks into the lens, even the simple movement of the chin up or down creates a different mood. If the chin is lowered, the eyes become larger and the gaze is made more inviting or more challenging, depending on the expression of the mouth and eyebrows. When a person looks away from the camera, the expression in the eyes is more difficult to capture. When you switch to a sitting posture, the body language changes dramatically: all people, without exception, are less tense and more relaxed when they are sitting.
When you ask people to sit in a chair, they most often sit as they do at home, as they are comfortable. That's fine if the person has good posture and doesn't slouch. But more often than not, the photographer needs to correct the posture of the person sitting. Turn the chair so that it is at a slight angle to the camera. Your client can now sit directly on the chair or on a special bench to pose. This has two effects. First, some of the body weight is transferred to the feet, which helps control posture and maintain balance, and second, in this pose, the body looks slimmer because it is facing the camera. The way a person leans on the armrests or leans back in a chair can be used to change the liveliness of a pose and the mood of a shot. A person leaning forward toward the camera looks more open, and conversely, when a person leans back in a chair while leaning on the far armrest, the mood of the portrait darkens. If the person leans forward, the pose instantly becomes more confident. The floor is a good surface for a pose, especially in a small room or a room with a low ceiling. In the crouching pose, the entire weight of the body is transferred to the toes, but some people have trouble keeping their balance. The crouch gives a natural look to the photo.
The cross-legged posture does not mean your client has to sit up straight; leaning forward with elbows or hands on knees will make the posture more relaxed and confident. If the person is leaning forward or to the side, the proportions of their body are distorted, making the portrait mood more aggressive. If the person is sitting on the floor, notice that the hips naturally widen and the body appears more massive. A better position is when the person is sitting on one leg (on one side), so that the hips are facing the camera. This makes the shot much more natural, and the hips are not as wide.
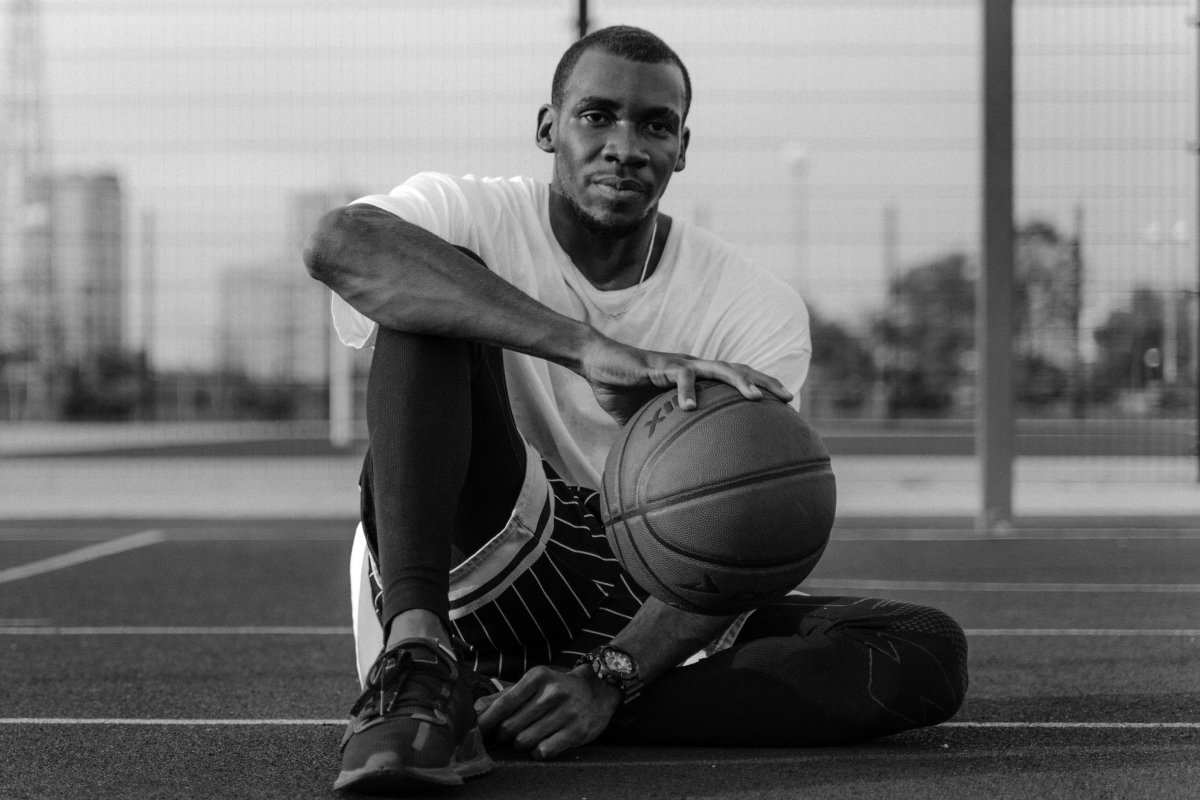
A person's arms can be exceptionally expressive. Awkwardly bent arms can ruin a portrait. Fortunately, there are a few simple tricks that will always get you a good result. Hands can be the centerpiece of a portrait, bringing a person's pose to life and showing certain character traits. But they can also ruin a portrait if they are too large or too bright. Decide at the beginning of the session what role you want your hands to play in the portrait. If they are not important, make sure your hands are out of the spotlight, or take them out of the picture and put them in your pocket or behind your back. In the latter case, leave your thumbs out of the pockets, as it looks better than having your hands completely hidden in your pocket. If you include your hands in the frame, use a simple method to make them look elegant. When the hands are above waist level, the wrist should be slightly bent and the hand should be pointing up, it looks more natural. When the arms are below the waist, let them hang freely, as this is the position they are in when we are standing. The arm can really dominate the frame, especially when it faces the camera with its wide side. That's why we usually show the hand from the side, not with the palm open or the back of the hand. This is more pleasing to the eye and makes the hand look thinner.
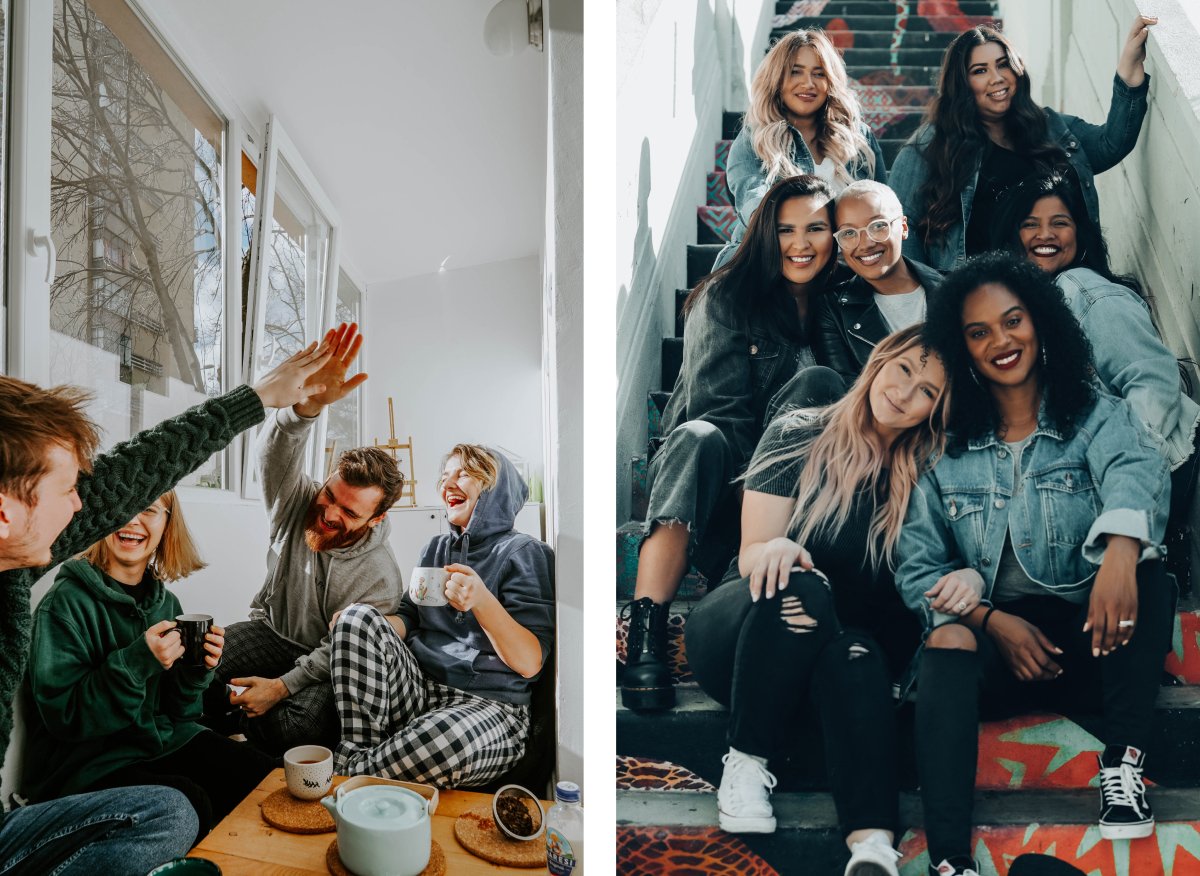
Many of the people you work with will turn out to be friends with each other or even family members. The ability to understand and reveal these relationships in a portrait relies on your observation skills as well as your ability to communicate with people. The way you paint the portrait depends on the relationship between the subjects. Engaged or married people tend to show their emotions more openly, and they may be standing very close together, touching their heads. The brother and sister in the portrait do not stand so close to each other and rarely even hold hands, one may even put a hand on the other's shoulder.
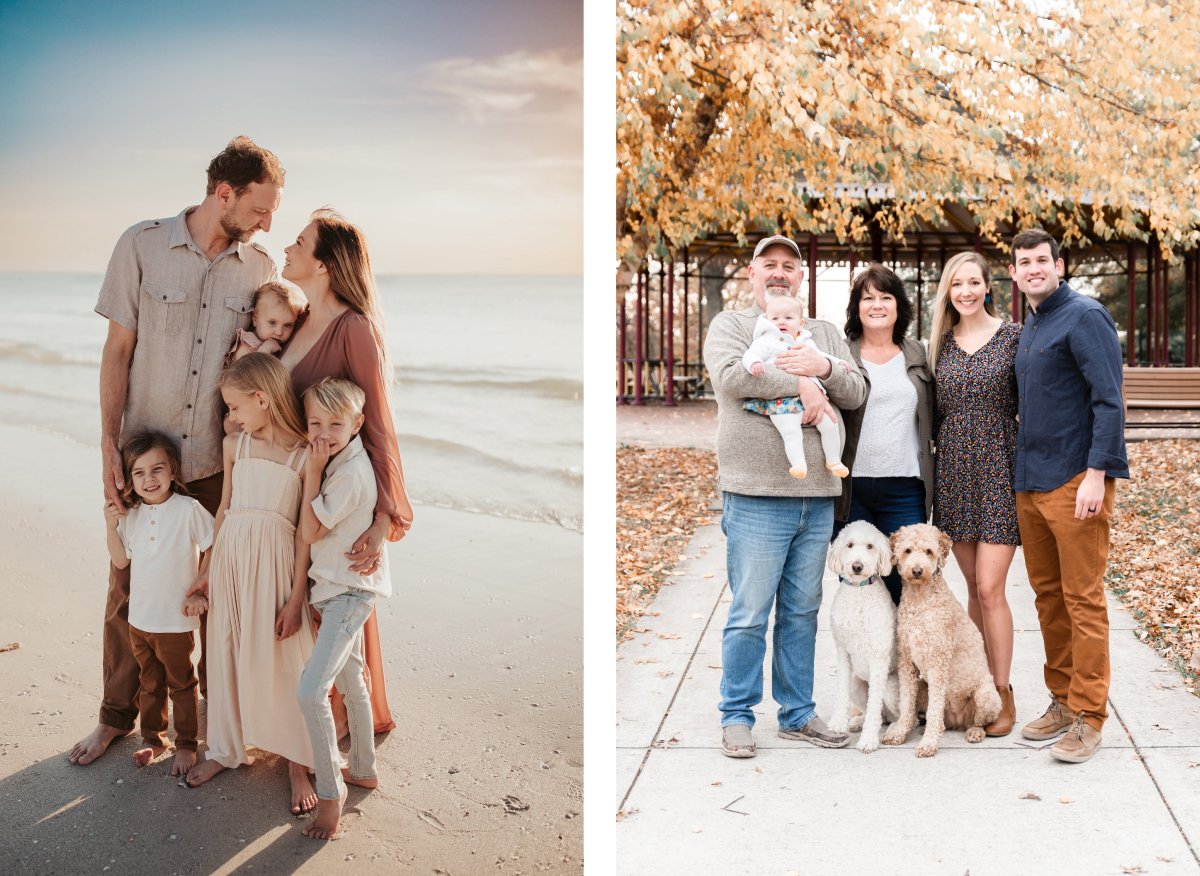
Depending on the relationship between the family members, such a photo shoot can be the simplest of tasks or it can turn into a nightmare. The key is to observe the family before you start staging the group for the portrait. Try to photograph families with strained relationships as quickly as possible, without spending a lot of time setting up the lights. Traditionally, the core of the family group is the parents, so they are placed in the center and the children surround the parents, lined up by age. However, here again, as in any other rule, there are exceptions. Most often, they are related to the need to place a member of the family behind the others in order to create a more flattering pose and composition. In this case, the photographer usually places all the family members so that their shoulders are turned toward the middle of the portrait and their heads are slightly tilted toward the center of the group. This arrangement makes the people appear thinner and allows the figures to be placed as close together as possible. Perhaps the most moving relationship in a portrait is between a parent and a child, especially a newborn. Their natural affection for each other makes for amazing photographs. With such a portrait, there is no need to invent anything, just let the emotions flow. It is best to place the camera at the height of the child so that you don't have to look down on him, so it is natural to get on the floor with him. Small children always feel more comfortable on the floor–whether or not there is a parent near them. The baby photoshoot should only last a few minutes, so be prepared to take pictures right away rather than spend time setting up your gear. Looking for a vivid and immediate pose, you can let the child move through the photo. If you can turn this process into a game, you're more likely to capture the true expressions of a young child's character.
Common Mistakes to Avoid
- Using a wide-angle lens. This can create a hypertrophied perspective, which is relevant for a joke, but not for an artistic image.
- Lack of sharpness of the eyes.
- Closed aperture–this makes the background too bright and clear, and can result in shifting the focus from the subject to the landscape.
- Objects on the horizon "sticking out" of the lens.
- Offset composition–a lens that is too high or too low in relation to the face.
- Red-eye–produced by the built-in flash. It is best to have the flash at a greater distance than the camera. This is possible using an external flash, but it is easier to start without.
- Too much detail, too much sharpness–this will only accentuate the irregularities of the skin.
Purposefully Made Mistakes
Breaking the rules often results in more dynamic, even symbolic photos. For example, if you crop the image at the forehead, the composition becomes more tense, increasing the emotional impact of the image. Placing a person facing away from the center, next to the edge of the frame, breaks the basic rules of composition. This makes the portrait look unbalanced and makes it look like the person is about to fall out of the frame, but it can be very useful when the portrait needs to have a strong emotional impact. The angle and point of view have a decisive influence on the result. Experiment with them to add variety to your photos. By changing the usual camera position, you will find new ideas and the shooting process will become more fun for both you and your clients. We are often advised to photograph children from a lower point, both to avoid distortion and to show the world from the child's perspective. It's also convenient when children are on the ground: by placing the camera at eye level, you can only show their heads, with their bodies hidden behind them. High-angle shots are often effective for group portraits: there will be a small distortion that you can use creatively, the presence of the background will be minimized and you can focus all your attention on the faces. Finally, don't forget that you can also shoot from the side, not just the front. The side view often creates more interesting compositions, especially when you are photographing a group and you are thinking of lines that will lead the viewer's eye deeper into the image.
Editing Techniques to Enhance Portrait Photos
A photo can be of poor quality if you don't process the portrait in an editor. It's not just about getting rid of digital noise or the dust and smudges you saw on the lens. Family portrait photography involves making the image pleasing to the eye. Use the editor's tools to remove scars or soften wrinkles. Adjust temperature, exposure, contrast, clarity, brightness, and sharpness. To do this with sufficient ease, you must first shoot in RAW format. This format contains the most external information, is easier to work with, and makes it easier to correct errors you didn't consider when shooting.
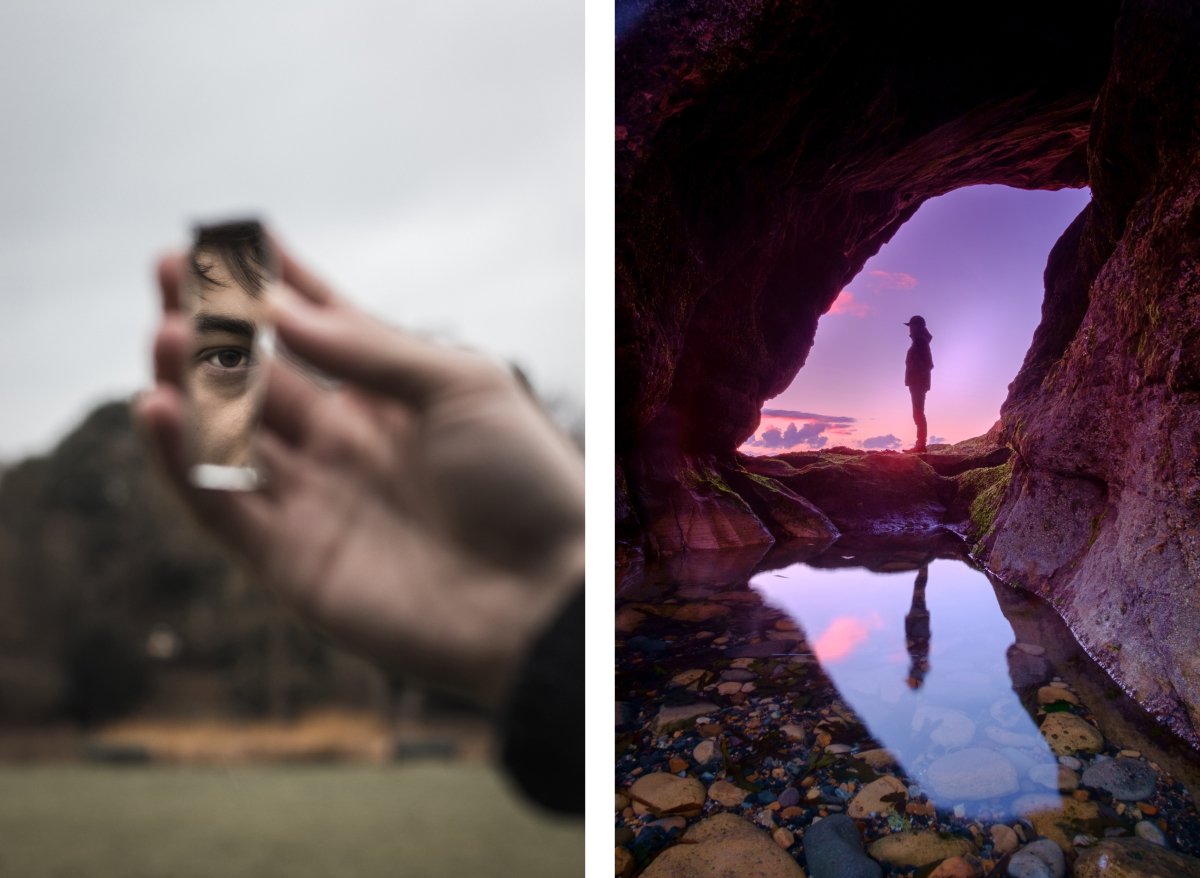
A good clipping of your photo will improve its composition. The image will be more harmonious, and you will be able to control the viewer's attention–they will be more likely to look where you want them to, which is usually the eyes if you are taking a portrait photo.
Cropping also allows you to quickly remove unnecessary objects from a photo. Just cut out what you don't need and you're done. This saves time in post-processing and allows you to focus on the main object in the frame, without being distracted by litter, road signs, or passers-by who happen to be in the photo. The fewer unnecessary things that catch the viewer's eye, the better.
Without extra sharpness, you won't get the same flawless effect that is often seen in professionally taken photos. The camera will never give the same image quality as our visual system, which is why we can give it extra help in post-processing. But it is important to remember that if you have taken pictures in difficult conditions, with bad light, and there is noise in the image, sharpening will only make things worse. In such a situation, it is best to refrain from sharpening so as not to further amplify the imperfections in the photo.
Here you can watch some editing techniques:
Practicing Portrait Photography for Beginners
Practicing and Improving your Portrait Photography Skills Most portraits are photographed at the subject's eye level. This approach to photography, while correct, is rather formal and boring. Try changing the angle of the shot, as it can help you take really beautiful and unusual pictures. Try to stand higher, try to get as much as possible above the model's head and photograph the subject from a certain height. Either way, you'll get a new angle of view, which means your photos will end up being at least unusual. It's amazing how much the appearance of the subject can affect the mood of the frame and the photo as a whole. In most photos, we are used to seeing the look in the frame, but the removed look can make the photo look different.
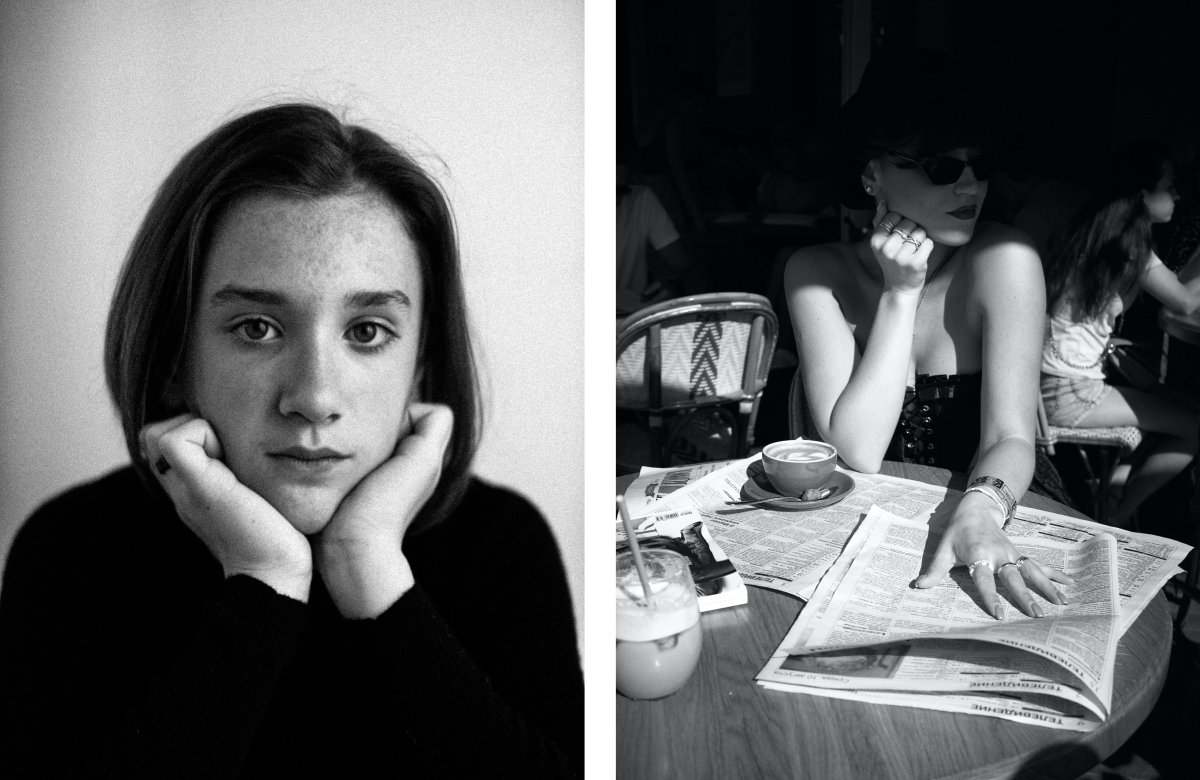
Another element of chance that can be used in photography is light. When it comes to using and playing with light in photography, the options are almost endless. Using side lighting can give the impression of backlighting, side lighting with total darkness on the other side of the face will give the photo a mysterious, enigmatic and mystical look. Staged photos almost always have a theatrical, unnatural look. There are people who simply cannot express themselves in staged photos; they cannot bring themselves to let something out of themselves. It's not always necessary to film talented actors, is it? In this case, it would be much more appropriate to photograph the person in a professional setting, or with their family. This will allow them to relax, act casually and be as sincere as possible. You can even zoom in, and beat the shot in a reportage style. It's especially important to practice this playful form of photography when photographing children. Ask your baby to show you their favorite toys, and take pictures of them playing, reading, and learning, when they are really, genuinely interested in what they are doing. Add an interesting extra element to your picture, it will create an extra point of attention on your shot. Yes, in this case, you might distract from your main subject, but if you do it carefully, you will definitely enjoy the results. Let's say you're trying to add intrigue or a sketch to your photos, but you probably won't succeed if you don't add a subject of interest to your shot.
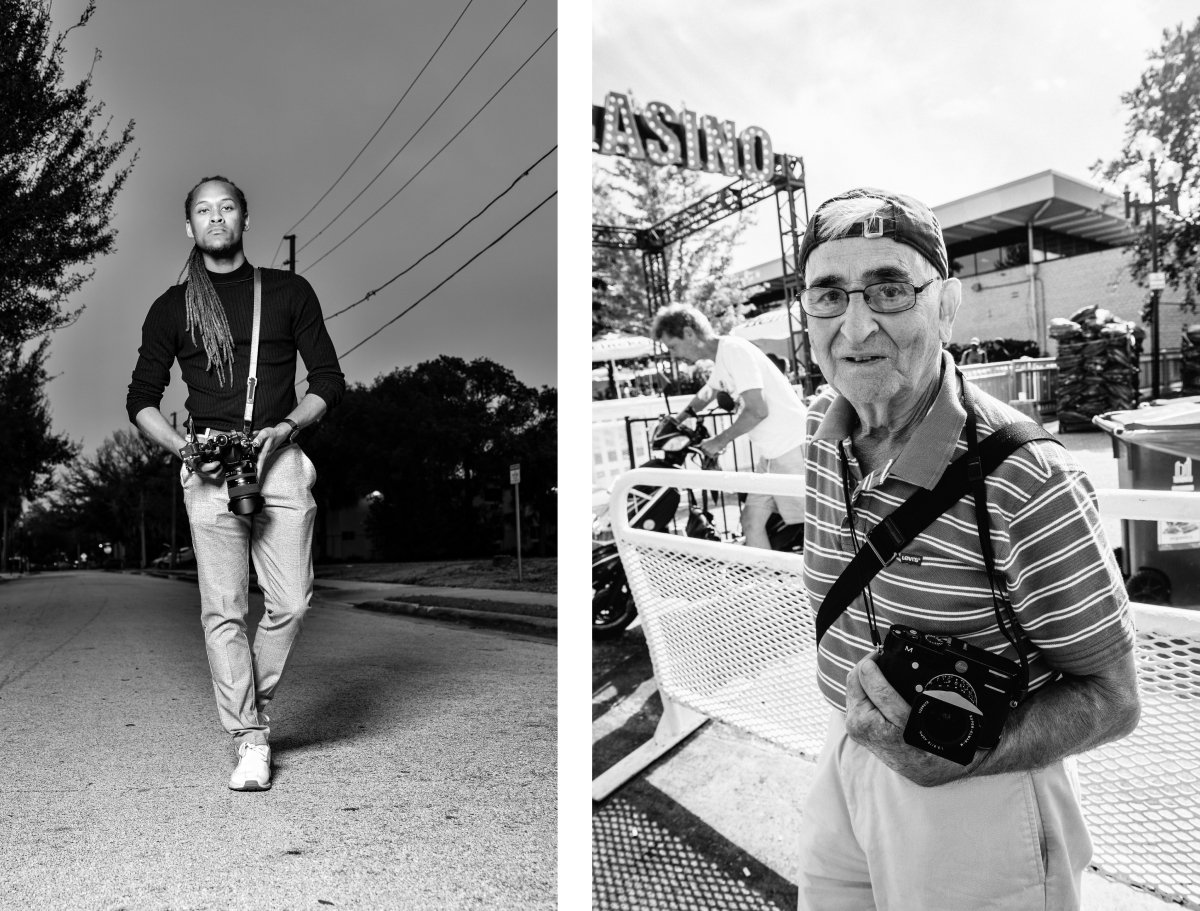
You can capture your subject by shooting at long focal lengths, or you can focus on what is most important. Don't photograph the whole person, but leave the hands, the lips, and the eyes, and each photo will have a special mood, a special message for the viewer. You can take a photo of a person at the waistline, leaving the viewer the opportunity to rethink and imagine the whole image. Very often, what is not in the frame says more than what is in it. Variations on the theme of focusing on certain moments and correctly placed accents can be done in another way. This can be done with clothing and other objects. By hiding certain parts of a photo or model, you are letting your viewer's imagination run wild. As the photographer, it's up to you to decide what to emphasize in the photo and what to focus on. Switch your camera to continuous shooting mode and shoot continuously. This will give you a whole series of pictures instead of a single static image. This technique can be especially effective when photographing children who are actively playing or having fun. It is also useful for photographing a subject that changes position and posture very quickly. This will look great when you are dancing or playing sports.
Also, we recommend watching this video for even more details:
How to Choose a Background for a Portrait Photo
Half the battle is choosing the right background image. However, there are some rules you need to know without which you won't be able to focus on your subject. The first rule is to frame anything unnecessary in the background. Unnecessary details can distract from the subject itself. So be careful to look through the lens and, if necessary, move closer to the person or change the angle. The second rule: don't forget to look around. Even if you can't find a suitable background on the sides, you can always shoot from below with a blue sky as a background or vice versa with a green lawn or dead leaves as a background. The third rule is don't forget the function of bokeh–blur. The intensity of the blur can vary depending on the photographic technique you use. This function allows you to separate the background from the subject, which will certainly have a positive impact on the quality of the photo. The fourth rule is to adjust the distance between the model and the background. Because in a situation where the background is not interesting and the subject is as far away from it as possible, the difference in lighting will make your photo deeper. Optionally, you can bring the model closer to the background. An interesting background image will then complete the portrait, but don't forget the blur in this situation. The fifth rule is that the correct use of sunlight reflections will not ruin your photo, but will complement it, making it more intriguing and captivating. The correct use of sun glare will reflect the feelings and mood of the soul, which is perfect for taking pictures of people in love. The sixth rule is that the background image should enhance the eye color of the model. So, for blue eyes, a sky-blue background will do, and for green, a cool green. If the subject has brown eyes, only a brown background, ranging from sandy gold to dark wood, will show them off.
Nuances of Portrait Photography
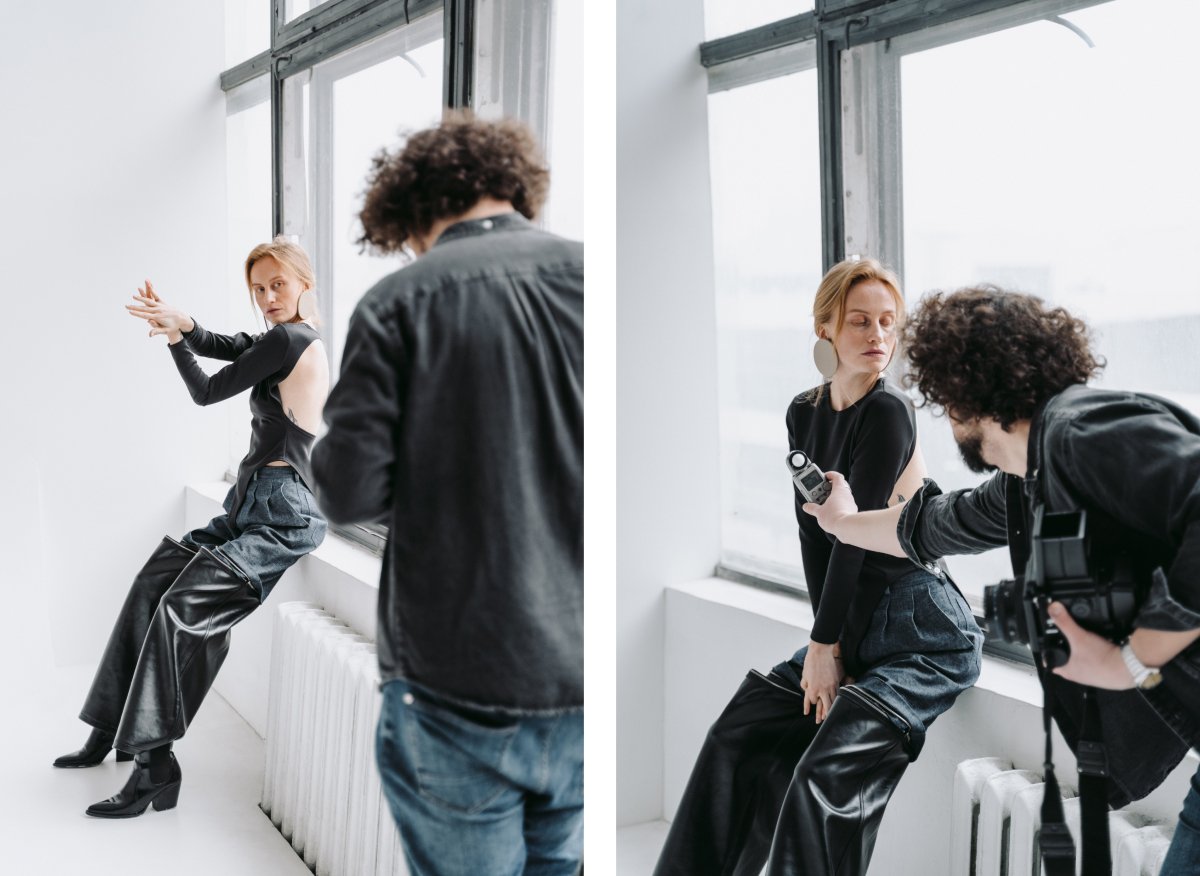
The purpose of portrait photography is not only to render the physical likeness of the model but also to preserve some aspect of a person's personality, so that when the viewer looks at the photo, he or she can get an idea of the type of person in front of them. It's best to photograph people who are unaware of the camera's presence–that way they won't have the opportunity to "make a face." You can create a relaxed, casual setting. In more formal situations where you are alone with the model, it can be more difficult to convey the character of the person in the photo, as most people feel uncomfortable posing for the photographer. A good portrait photo captures the essence of a person, whether it's a child, a neighbor, or a celebrity. Since the beginning of time, people have wanted formal portraits that portray them as beautiful and personable. It doesn't matter that in these portraits they only look remotely like themselves: in a formal suit, or a special hairstyle. They were willing to pay money for it. The portraits took a long time to paint. The services of prominent artists involved serious fees. Before the invention of photography, portraiture was a privilege only for the very rich. Artists tended to flatter the client. The court painter always adapted to the ruler. It was the same with photography at the time of its invention. The photographer created an image, and that image was raw. The repetition of the same image in many photographs could create the image of a person. Therefore, portraits can be interpreted differently. The same person can be photographed as brave, kind, a laid-back ruler, and a lively person. When we take portraits, we often photograph the reaction of the person being photographed to themselves. It depends on the task at hand. Most often you want to make a psychological portrait to capture the emotion that best reflects the subject’s inner world and character. It's good when you can get a person to behave naturally in front of you, as they do with their friends. Most people tense up when they see the lens. Your job is to be an invisible, trusted photographer. In one photographer's frame, the person looks relaxed and cheerful, in another photographer's frame, she looks tense and serious, or glamorous and pompous. The person is written into the photo as an object of art, and the photo is seen as a set of symbols. Many photographers want the person and the photo to look alike. The best case scenario is that your photo looks like when a person looks in the mirror and sees himself as beautiful, lively, and relaxed. It is therefore obvious that the portrait is a psychological expression of both the model and the photographer. The photographer and the model meet on set, and then the collaboration begins. Photographers can be angry, kind, tough, gentle, very serious, and very carefree. You can judge all of this by their photos. You need to use your photographic and conversational skills so that the person can relax and show their personality traits. Only in this way, you will get natural and candid portraits.
How to Interact With a Model
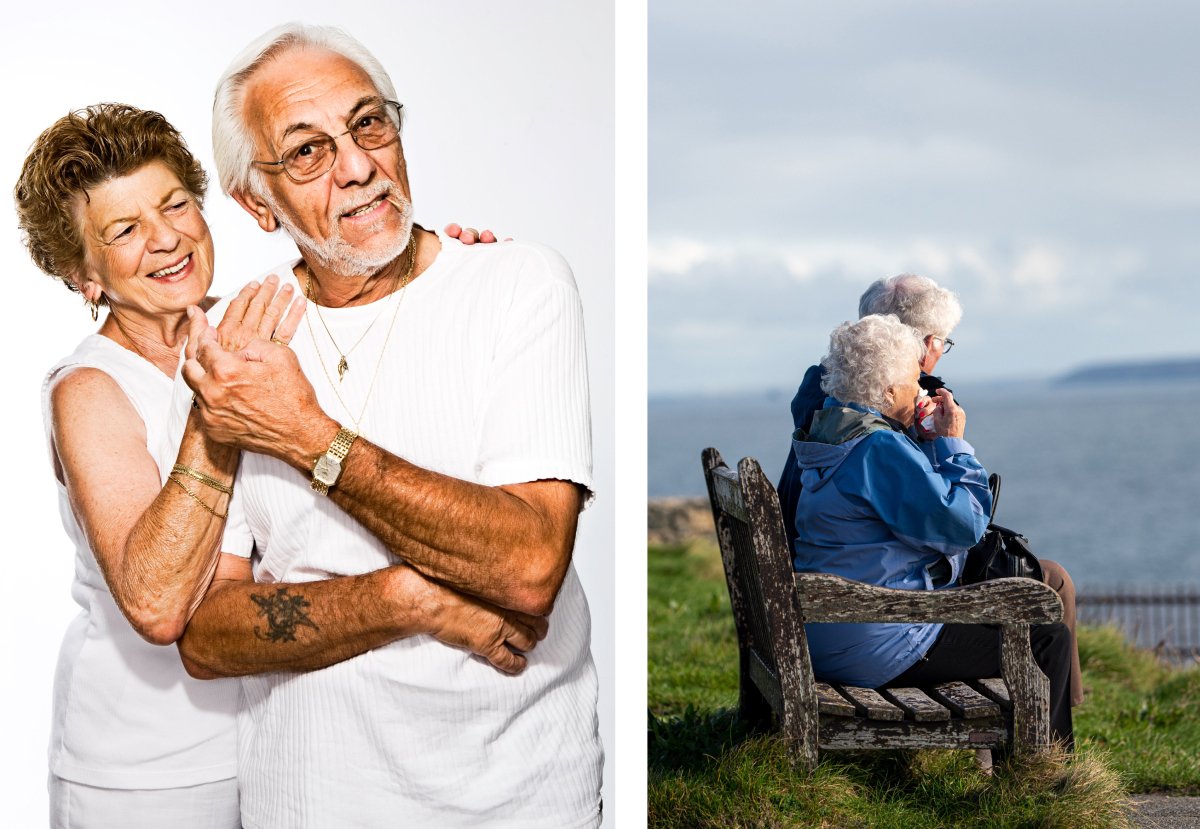
If you really want to capture the character of the person being photographed, make sure the model doesn't feel uncomfortable. There are several things you can do to help. First, talk to the person about something that interests both of you, so as to reduce their nervousness. A few minutes into the conversation, people forget about the camera, so you'll just have to capture interesting facial expressions whenever they appear. Second, never ask a model to smile or say "cheese." A real smile comes from within, and the only way to make someone smile is to give them a reason to smile: make a joke or talk about something funny. Of course, you won't always be looking for a smile. If you look at the creations of successful portrait photographers, you will often see that their models have more thoughtful and serious expressions on their faces, which brings out the character of the person. The person you want to photograph may have an independent point of view on political issues, or perhaps has gone through a period of adversity at some point. The more you know about the person, the more you can control the situation, anticipating the type of portrait you will get. Always try to give the appropriate impression that you are confident and in control, even if in reality you are just as nervous as your model. If people feel like you don't know what to do, they will never trust you. The most interesting expressions appear and disappear in a split second, so always be attentive and ready to catch them. Third, plan ahead to make your photo shoot quick and easy. Determine a location, formulate some ideas, and set up your equipment so you can get to work. Posing for portraits tires people out quickly, so if you can't get a few good shots in the first half hour, you probably won't get anything done all day. More often than not, the most successful portraits are the easiest, so the less equipment you have on hand, the more you'll focus on the person themselves. Remember this, and you can't go wrong. Be prepared to take a considerable number of shots to get a single successful portrait.
