How to practice photography
Do you have a camera and a passion for photography?
Great, it's time for practice!
To be effective in your practice, you will need to master three important aspects of photography: the technical aspects of the camera, the theory of light and shadow, and the actual composition of a photo. Watch this video to refresh photography basics:
Let's start by planning your photography practice and move on to some helpful exercises that will help you gain confidence in your camera, your lens, and building your composition.
Set goals This is an important first step in your practice. It may seem boring, but it makes the whole process easier! The idea behind setting goals is to give yourself a clear path to reach the level you want. You can always shorten or exceed your goals, but they guide and motivate you while showing you your progress.
You can set one or more objectives, here are some examples:
- become confident with basic manual adjustments and understand how, why and where to use them to create the photo you imagine;
- improve your understanding of photographic composition in order to frame photos that show greater intention and a better ability to connect with your subject;
- take better travel photos that reflect your experience and not basic tourist shots;
- to become a professional photographer and participate in competitions.
Think about what is important to you, there are no right or wrong answers. Goals can change and adapt, but having a clear vision of what you want to achieve over a period of time will help you stay focused, motivated, and measure your progress.
Research the location Researching the terrain and access to a location, reviewing your previous images of that location, other people's photos, and revisiting a location multiple times, are sure ways to improve your chances of getting a better composition and a variety of shots in different conditions and lighting.
Make photography your frequent activity Set aside time once a week, even if it's only an hour, to take pictures. Taking pictures doesn't necessarily mean going outside with a camera. It can be indoor photography, photo editing, reading articles or books, all activities that will enrich your experience.
Anything that helps build your understanding and empowers you will pay off in the future. If you have a friend who is also interested in photography, you can organize a regular activity together.
Where to practice photography
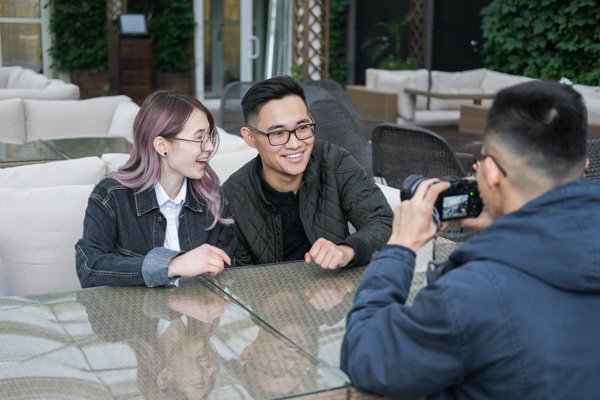
Beginner photographers are sometimes embarrassed to go out to practice or don't know good places to take compelling photos. The best places to practice photography are:
- A local park is always a good option as you have more time to adjust camera settings and get comfortable with different light settings etc.
- Art museums allow you to frame existing compositions in good lighting and train your eye to capture colors as you see them in real life.
- Street festivals. You can usually weave through the crowds and get to the places that lend themselves best to photography. When you grab someone's attention, a smile can change everything, and it's a great shot. Get in the thick of the action, especially at Independence Day celebrations, Halloween parties, Christmas fairs and parades.
- Parties or weddings are great opportunities to capture moments that can be very personal to the people who have invited you. Strive to capture moments of intimacy or pure joy in the families of those present. Do not opt for easy and posed shots. Seek to fill your entire frame with movement and party vibes.
- Shows by small local groups. The advantage of band concerts is that it's easy to be invisible. People are there to listen to the music. Pay attention to how people react to bands and their music. As with conventions, it helps to know the group you attended.
Always apply the concepts, discipline and techniques, wherever you are, whatever your shot. It's about getting in the mindset of shooting and being confident about it, wherever you go and there are plenty of opportunities for photography everywhere. If something is beautiful enough, try to find a way to capture it. I hope these places will help boost your confidence and instincts so that wherever you are, you can shoot comfortably. Practice makes perfect. Take each shot to refine your technique until spontaneous photography becomes second nature to you.
Photography practice ideas
Cropping photos of other photographers Great photography begins with the eye, not the camera. This means that it should be possible to develop your photographic eye without ever touching a camera or lens. And that's the case! For this photo composition exercise, all you need is an easy-to-use photo-editing program like Paint or GIMP. First, learn the basic rules of photographic composition. You don't have to know them all right now, but you should know at least one because this exercise will force you to put these rules into practice. We recommend starting with the rule of thirds. Go to a free photo hosting site like Flickr or 500px and upload a number of images to your computer. (Easiest is to right-click and save image as). Any type of image can be used, but this exercise is most effective with portraits and landscapes.


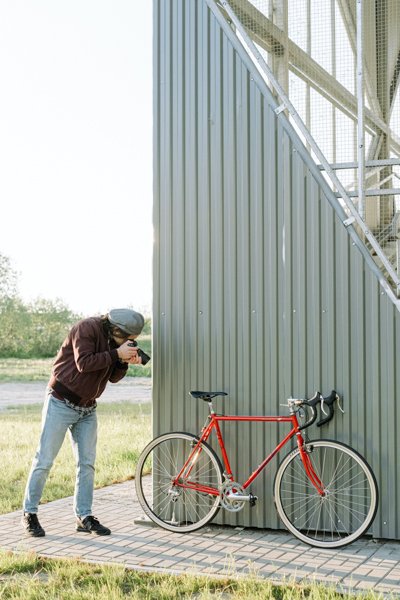
Recreating photos of other photographers Once you feel a little more comfortable behind the camera, you might want to try recreating photos that others have taken. Browse Instagram, Flickr, or 500px, pick a few that seem within reach, and get started! The goal is not to make an exact replica of your source material, so don't be discouraged if you can't do it. Rather, this photography exercise is meant to make you think about things you hadn't considered. To push you out of your comfort zone. At first, your copycat photos will be a let down compared to the original images. It's normal. But if you persevere, you will quickly see improvements. Along the way, you may even begin to discover your own voice and style as a photographer.
Shooting 10 Photos With One Subject Here's a common mistake made by beginners: always taking pictures at the same height and from the same angle. It's natural to stand up straight and take pictures at eye level, but it's boring. After all, everyone knows what the world looks like from eye level. If you want your photos to look more appealing, switch things up. Capture the world from unusual angles and positions: viewpoints that are foreign to most people. This photographic exercise will help you develop your sense of angle. First, find a topic. No matter what subject. It can be a kettle on the stove, a pet dog, a fire hydrant, a herb garden, a manhole cover. Everything is possible. Then take 10 photos of this subject. No photo should be identical to another. Try looking directly down at it. Then try looking straight up. Change the angles. Look at the front of the subject, then the back, then the sides. The possibilities are endless, and even the smallest changes in angle can have a big impact on the resulting photo. Do this for hundreds of subjects and you'll start seeing angles everywhere you go without even trying.
Shooting 10 Photos With Three Objects In some cases, such as landscape, astronomy and street photography, the idea is to capture the scenes as they are. In other cases, like portraiture, food and product photography, the idea is to build your own scenes. As you can imagine, it's not easy. There are many factors to juggle such as lighting and background, but one particular aspect that beginners find difficult is knowing how to position multiple subjects in the frame. This is the subject of this photo composition exercise. Find three random objects, such as figurines, fruits, bowls, candles, plants, or whatever you have on hand. It doesn't matter if they are related to each other or not, although it will be easier if they are all a similar size. Now place them as you wish. Think of it like composing the objects for a photo shoot. Do this ten times, rearranging them in a different way each time. Over time, you will develop your creative muscles and your eye.
Shooting 100, 500, or 1,000 Photos With One Lens The focal length of a lens not only controls the zoom factor of a shot. Yes, all things being equal, an 18mm lens requires you to be closer to the subject than a 50mm or 85mm lens. But different focal lengths can also evoke different feelings in a photo. For example, the wide angle of an 18mm lens is accompanied by a lot of distortion, which can produce a comical or whimsical effect. In contrast, a 200mm lens has a compression effect that makes the photo look flatter than, say, an 85mm or 50mm lens. In short, different focal lengths require different approaches when composing photos. This is why we recommend that you master only one type of lens at a time, preferably starting with a 50mm lens. Learn about common camera lenses and when you should use them. For this exercise, you just need to stick to one focal length for your next 1,000 photos. It's easier with a prime lens, but if you only have a zoom, just pick a focal length and leave it at that. Switch to another focal length when you have taken 100, 500 or 1000 photos. Eventually, you'll better understand how to use the different focal lengths available to you to get the shot you're looking for.
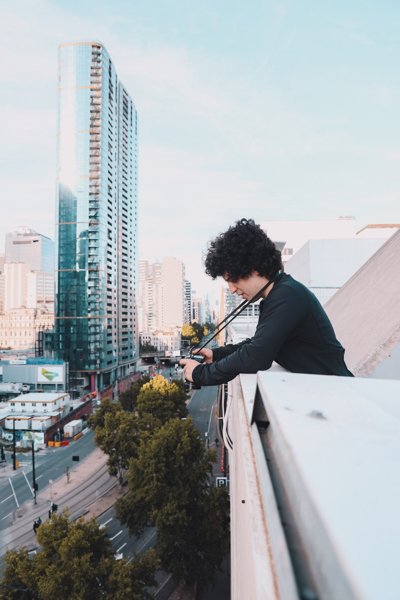
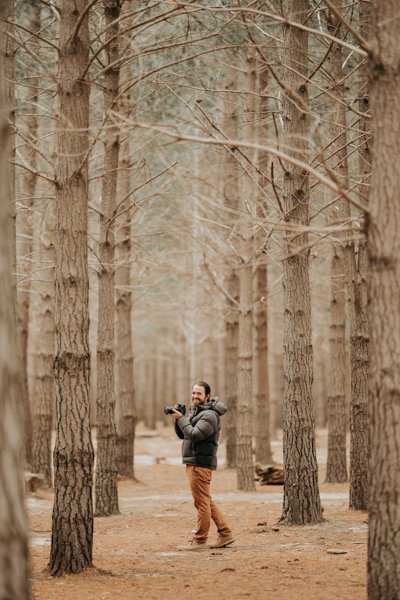
Exercising composition at a random location Creativity is often perceived as something infinite and full of possibilities. And while there's technically nothing wrong with that, the truth is that creativity needs limits and constraints to flourish. If you've ever wanted to take pictures but didn't know where to start, where to go, or what to shoot, then you know what I'm talking about. Restrictions are good, and that's how this photography exercise will unleash your creative potential. Go out and find a good shooting spot, pick a random place to stand, don't think too much. Now stand there, look around, and take 10, 20, or 50 pictures of anything. But try to make them good. When you're done, take a random direction and take a random number of steps to find your next spot. Very quickly, you will learn to adapt to the place where you are and to find good frameworks there, it is guaranteed.
Watch a video to have a better idea of exercises like those we listed
Photography practice test
You probably want to know if practicing photography has brought the desired result. At the beginning of the article, we talked about setting goals, from the simplest to the most demanding in terms of effort. This is the time to make a list of your goals and review each item, it will already be a great indicator of your progress. You can also compare your before and after photos of regular practice, and ask yourself a few questions:
- Do I better understand the manual settings of my camera?
- Am I able to control ISO sensitivity, aperture and shutter speed to get good quality photos?
- Do I know the rules of composition and am I able to take a good photo using them?
- Have I learned to take staged photos with different objects? What about quick shots on the street with a lot of movement around? After analyzing these questions, you can understand which part of the process requires more analysis and work. You can then easily find more specific information on the question you are interested in.
Also, you can watch this video and check if you make these common photography mistakes:
Photography theory practice
With all the excitement that comes with buying a new camera, it can be easy to overlook the user manual. But what most people don't know is that it contains a lot of key information that can help you get the most out of your device and learn how to take better photos.
If you still have your user manual hidden somewhere, it's not too late to retrieve it and go through it from cover to cover. Know what each button on your device does and what you can do with its different settings.
Try out information you’ve read The best way to retain your new knowledge of how your camera works is to practice what you've read. As well as giving you an idea of what your device's controls and settings can do, it's also a good way to find out what features you'll be using regularly. Remember: you don't have to try everything at once. You can spread the application of what you have learned over several days of practice. Trying and making as many mistakes as possible is a good way to hone your photography skills. With constant practice, the time will come when you finally succeed in taking the right shot.
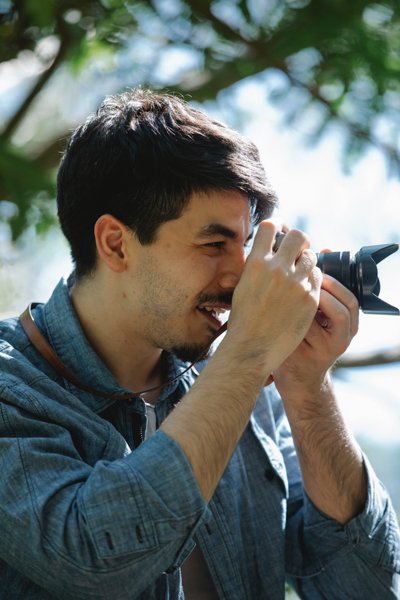
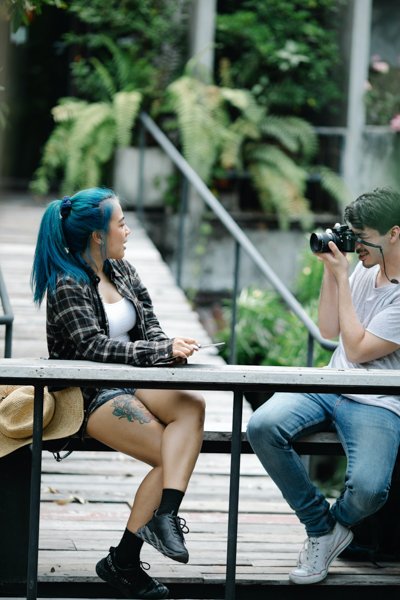
Make advantage of all camera’s settings Just look at the famous photojournalist Henri Cartier-Bresson. According to an article in the New York Times, Bresson rose to fame by using a hand-held 35mm camera to photograph significant events that marked the 20th century (e.g., the Spanish Civil War and the German occupation of France). His career as a photographer is proof that you don't need fancy equipment to take better pictures. Just get the most out of your camera and what it can do for you. If you must, start with simple photos and backgrounds. Then, once you get the hang of it, move on to more complex scenes and shots.
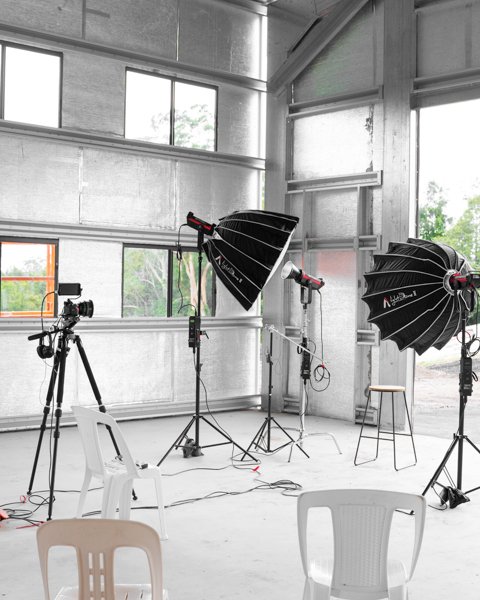
Don’t forget a tripod The simple act of using a tripod can dramatically improve the quality of your photos. A tripod gives you stability when taking photos, making your images look sharper and more balanced. This also avoids the risk of having unwanted elements in the frame. Just be sure to mount your tripod on a flat, stable surface and use a tripod that's perfectly suited for your camera. Once the tripod is mounted, make sure your camera and tripod are level by checking with a spirit level. You wouldn't want your photos to come out tilted. For added stability, especially if your tripod is lightweight, hang something heavy under your tripod. This will act as an anchor to keep it from moving when trying to take photos of a particular scene.
Frame your photo by using the edges of each element as a guide A useful trick is to align the edges of certain frame elements to create a path that leads to your subject. This will make your photos more balanced and visually appealing. Besides edges and lines, look for other attractive shapes, textures, and patterns in the scene that can serve as a guide for framing your subject.
Regularly look at as many good photos and photographers to train your eye Read photography books, attend exhibitions and browse photography portfolios online. Since photography is a visual art, you can practically learn what makes a good photo by studying it – or looking at it carefully. If you find a photo you like, ask yourself the following question: "What do I like about this particular photo?" Explore how you can make your shots look like this. Remember it or write it down for reference the next time you shoot. Or if that's not your style, jump right into experimenting to recreate that particular style with your camera. Another way to enrich your photography skills is to visit online photography resources. The Adorama Learning Center, for example, is a great place to find tips, camera and gear recommendations, and anything photography-related.
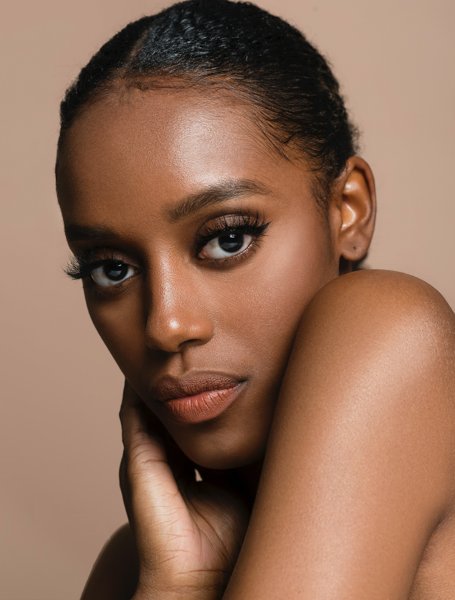

Expose your work to get a feedback At first, it can be quite intimidating to exhibit your work. But feedback from others can help you figure out what you're doing wrong and what needs improvement. There are groups on photo-sharing sites like Flickr where you can upload your photos to be critiqued. If you are not yet ready to share your work with the public, you can also ask photography enthusiasts around you to critique your work. While this is helpful, you don't have to know how to use post-processing tools to improve your shots. Sometimes all it takes is a few simple tweaks in your setup, knowledge, and approach to photography to take better photos.
If you want more information and specific exercises to improve every aspect of the photographic process, follow the link to read our Practical Photography Exercises article, where we have compiled a wide variety of exercises to develop your understanding of ISO, aperture and shutter speed, composition, use of photographic equipment, theory of light and shadow:
